
16 min read • 3,530 words
In today’s digital landscape, knowing how to build a Chrome extension can significantly enhance both your browser’s functionality and your overall user experience. Chrome extensions are small software programs that customize your browsing experience, allowing you to add features, improve productivity, or even integrate AI capabilities. As more users seek tailored solutions to their online needs, understanding how to create these extensions becomes increasingly valuable. This article will guide you through the essential steps to build your first Chrome extension, empowering you to leverage technology in innovative ways.
In today’s digital landscape, knowing how to build a Chrome extension can significantly enhance both your browser’s functionality and your overall user experience. Chrome extensions are small software programs that customize your browsing experience, allowing you to add features, improve productivity, or even integrate AI capabilities. As more users seek tailored solutions to their online needs, understanding how to create these extensions becomes increasingly valuable. This article will guide you through the essential steps to build your first Chrome extension, empowering you to leverage technology in innovative ways.
Integrating artificial intelligence into your Chrome extension can elevate its utility, enabling features such as content summarization and sentiment analysis. As AI continues to transform how we interact with technology, learning how to build a Chrome extension that incorporates these advanced capabilities can set you apart in a competitive landscape. In this article, you will discover not only the technical skills required, such as HTML, CSS, and JavaScript, but also how to effectively utilize AI to enhance your extension’s functionality and user engagement.
Building your first Chrome extension involves understanding the critical components that make it work, including the essential manifest files that define its metadata and permissions. This foundational knowledge is crucial for anyone looking to develop a successful extension. Additionally, testing your extension in developer mode allows for quick iterations and debugging, ensuring a smoother development process. By the end of this article, you will have a comprehensive understanding of how to build a Chrome extension from scratch, equipping you with the skills to create a tool that meets your unique needs and those of your users.

Introduction to Chrome Extensions
Chrome extensions are small software programs that enhance the functionality of the Google Chrome browser. They allow users to customize their browsing experience by adding features or modifying existing ones. The primary purpose of these extensions is to improve productivity, enhance user experience, and provide additional tools that cater to specific needs.
The Chrome Web Store serves as the official marketplace for Chrome extensions. Users can browse, install, and manage extensions directly from this platform. It offers a wide variety of extensions, ranging from ad blockers to productivity tools, making it easy for users to find solutions that suit their needs.
- Customization: Tailor your browsing experience to fit your personal or professional needs.
- Increased Productivity: Automate repetitive tasks and streamline workflows.
- Learning Opportunity: Gain valuable skills in web development and programming.
Building your own Chrome extension offers numerous benefits. Not only can you create a tool that fulfills a specific need, but you also gain hands-on experience in coding and software development. This process can be particularly rewarding, especially when you see your extension being used by others.
In recent years, the integration of artificial intelligence (AI) into Chrome extensions has opened up new possibilities. By leveraging AI, developers can create smarter extensions that can analyze user behavior, provide personalized recommendations, and automate complex tasks. This integration can significantly enhance the functionality and appeal of your extension.
In summary, understanding how to build a Chrome extension can empower you to create tools that improve your browsing experience while also providing valuable skills in technology and programming.
Introduction to Chrome Extensions
Chrome extensions are powerful tools that enhance the functionality of the Chrome browser. They allow developers to create custom features, improve user experience, and integrate with various web services. In this guide, we will explore how to build your first Chrome extension using AI, providing step-by-step instructions and helpful resources.
Best Practices & Common Mistakes
When building Chrome extensions, keep your code organized and modular. Test frequently to catch bugs early. Avoid excessive permissions to enhance user trust. Common mistakes include neglecting to handle errors and failing to optimize performance. Always refer to the official documentation for the latest guidelines and best practices.
Setting Up Your Development Environment
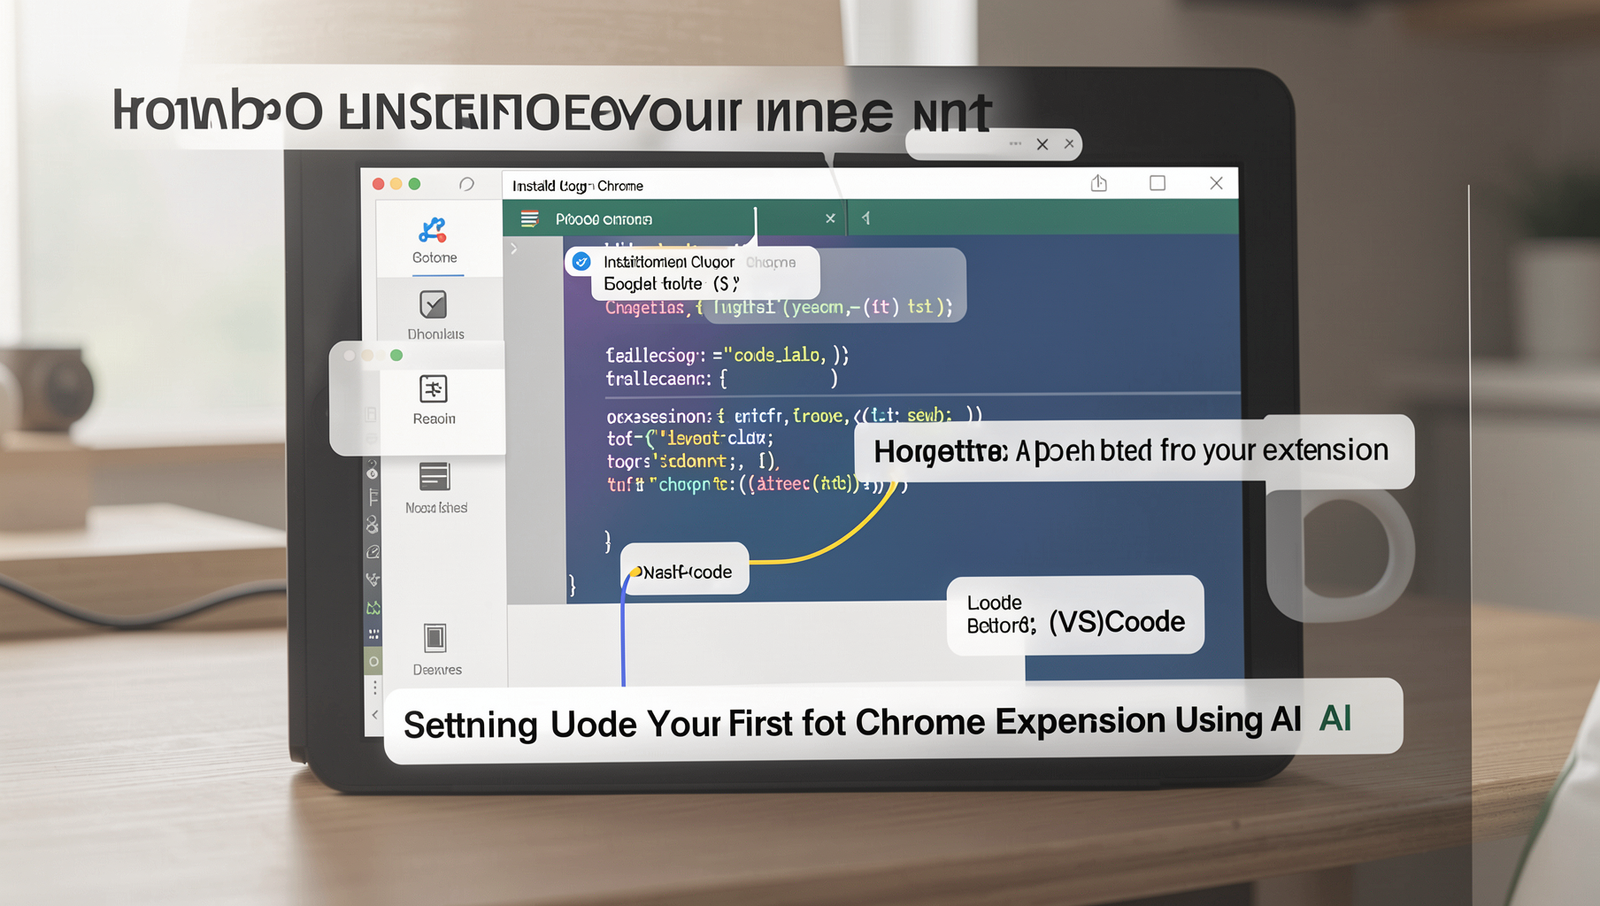
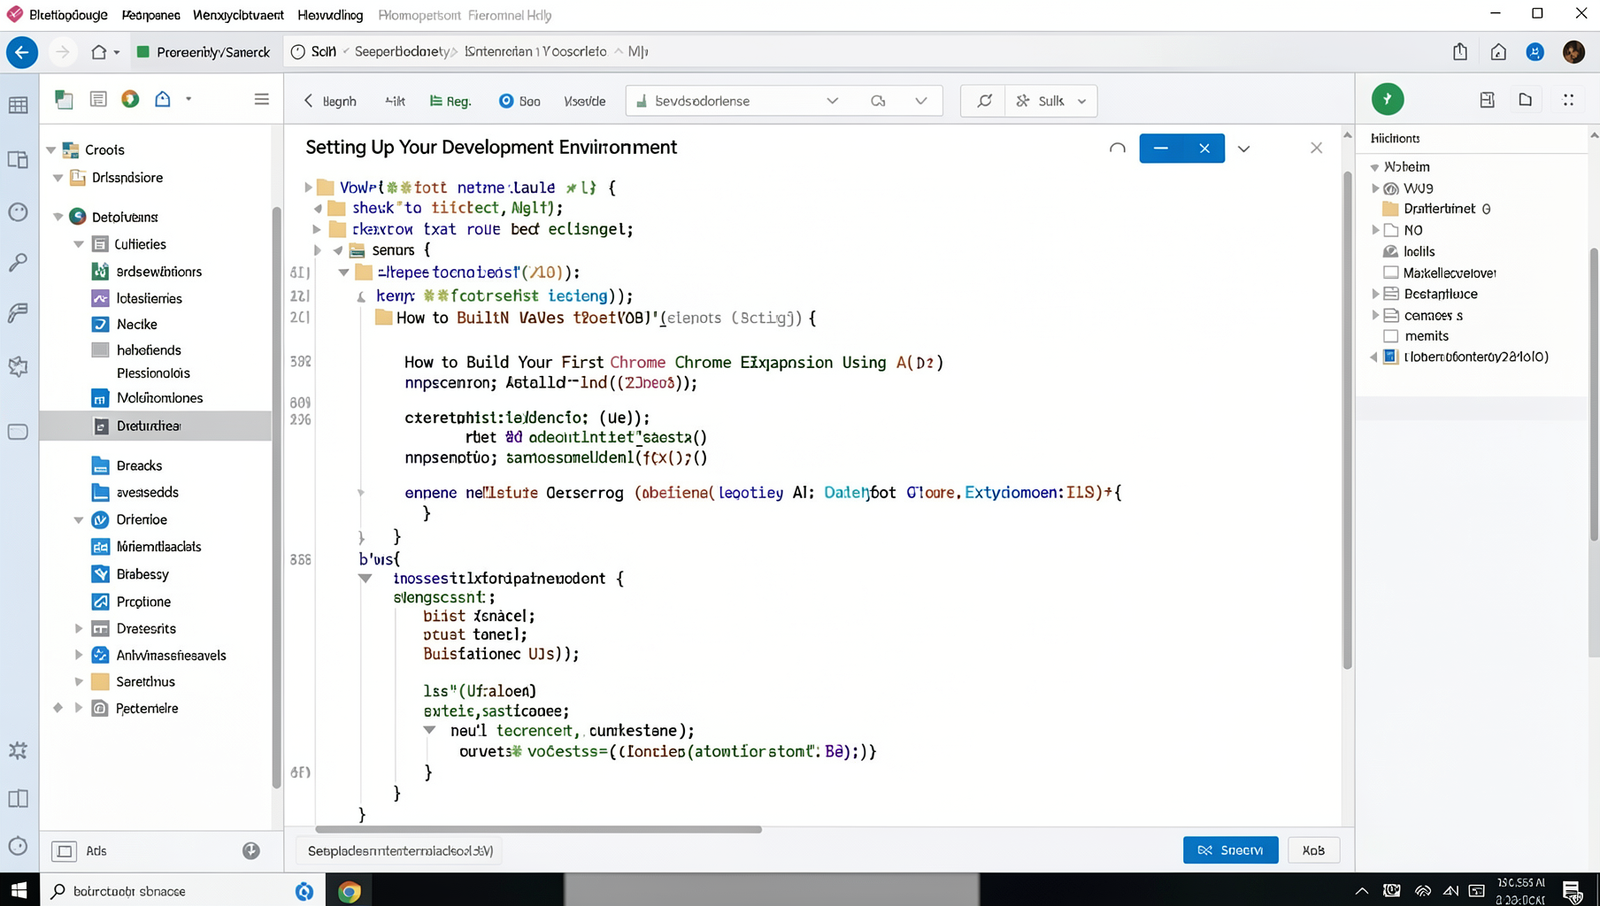
Before diving into how to build a Chrome extension, it’s essential to set up your development environment properly. This involves installing Google Chrome, selecting a code editor, creating a project folder, and understanding the folder structure of a Chrome extension.
First, ensure you have Google Chrome installed on your computer. You can download it from the official website:
https://www.google.com/chrome/Next, choose a code editor for writing your extension’s code. A popular choice is Visual Studio Code (VSCode), which you can download here:
https://code.visualstudio.com/Once you have your code editor ready, create a project folder for your extension. You can do this using the command line:
mkdir my-chrome-extensionNavigate into your new project folder:
cd my-chrome-extensionNow, let’s discuss the folder structure of a Chrome extension. A basic structure includes:
manifest.json– This file contains metadata about your extension.background.js– This script runs in the background and handles events.popup.html– This file defines the user interface for your extension’s popup.icons/– A folder to store your extension’s icons.
Understanding this structure is crucial as you begin to develop your extension. With your environment set up, you’re ready to start coding!
Setting Up Your Development Environment
To build your first Chrome extension, you need to set up a development environment that includes the necessary tools and libraries. Follow these steps to ensure a smooth development process:
- Install Google Chrome: Make sure you have the latest version of Google Chrome installed on your computer.
- Set Up a Code Editor: Choose a code editor like Visual Studio Code or Sublime Text for writing your code.
- Create a Project Folder: Organize your files by creating a dedicated folder for your Chrome extension.
- Install Node.js: If your extension requires JavaScript libraries, install Node.js from nodejs.org.
Best Practices & Common Mistakes
When developing your Chrome extension, keep these tips in mind: Always test your extension frequently to catch bugs early. Avoid using too many permissions to enhance user trust. A common mistake is neglecting to optimize performance; ensure your code is efficient. Finally, document your code for better maintainability.
Creating the Manifest File
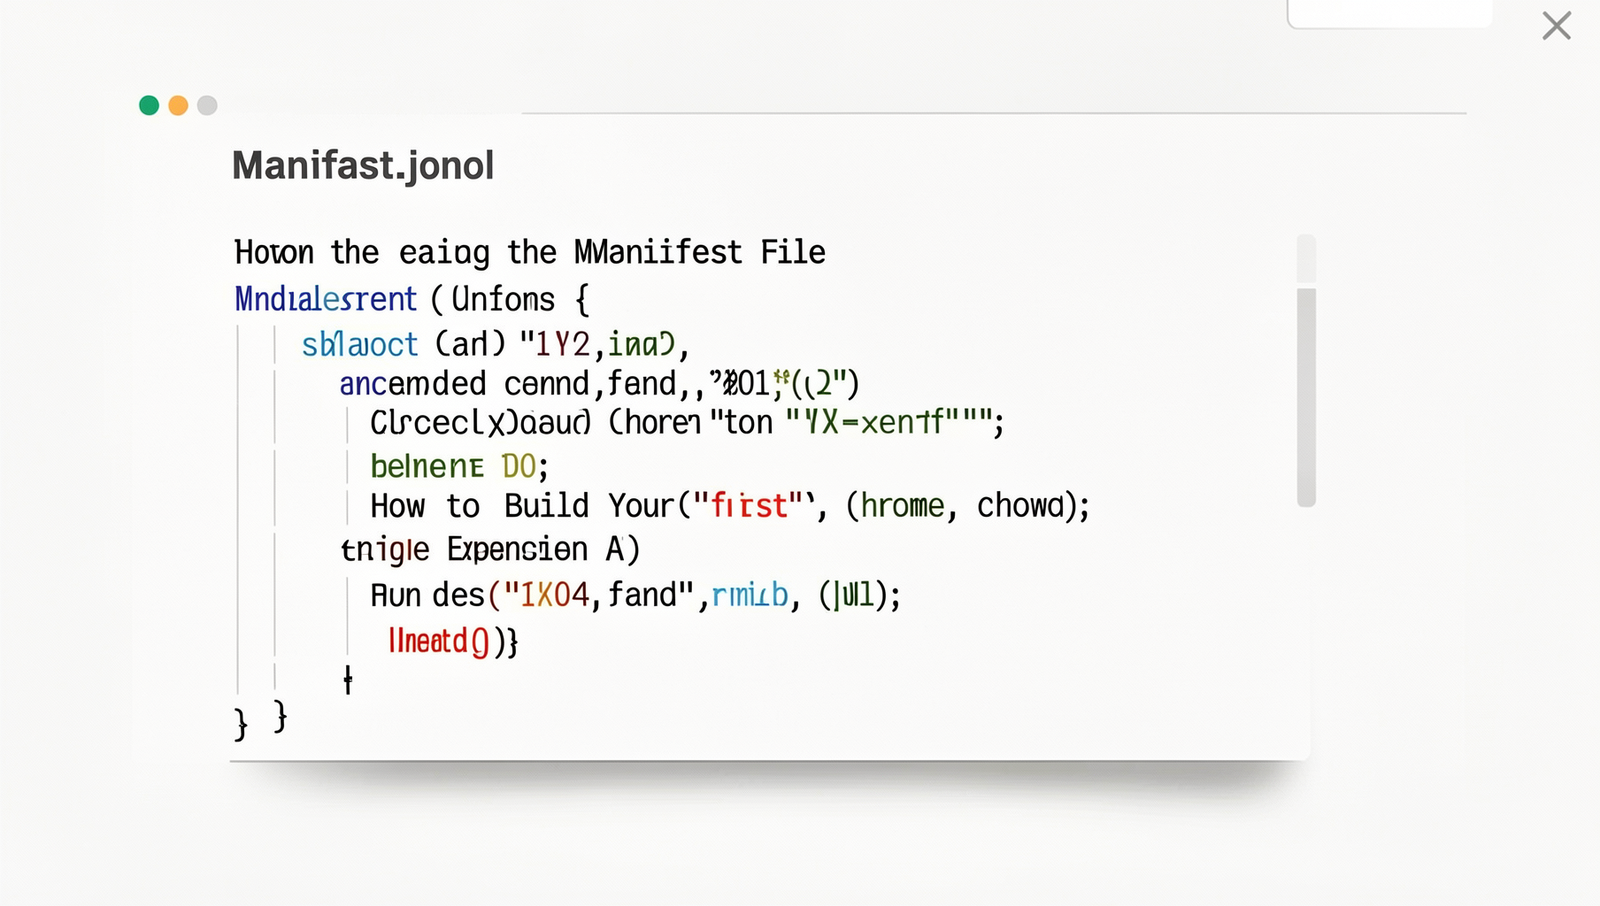
The manifest file is a crucial component of any Chrome extension. It is a JSON file named manifest.json that contains important metadata about your extension, such as its name, version, and permissions. This file acts as the blueprint for your extension, guiding Chrome on how to load and manage it.
To create a manifest file, you need to include several required fields. Below are the essential fields you must define:
manifest_version: Specifies the version of the manifest file format (currently, it should be set to 3).name: The name of your extension as it will appear in the Chrome Web Store.version: The version number of your extension, following semantic versioning.description: A brief description of what your extension does.
Here is an example of a simple manifest.json file:
{
  "manifest_version": 3,
  "name": "My First Chrome Extension",
  "version": "1.0",
  "description": "This is a simple Chrome extension built using AI."
}
In addition to the required fields, you also need to set permissions for your extension. Permissions define what resources your extension can access. For example, if your extension needs to access the user’s tabs, you would include:
"permissions": ["tabs"]Furthermore, adding icons and metadata enhances the user experience. You can specify icons in different sizes for various contexts. Here’s how you can include icons in your manifest:
"icons": {
  "16": "images/icon16.png",
  "48": "images/icon48.png",
  "128": "images/icon128.png"
}
By understanding how to build a Chrome extension with a properly structured manifest file, you set a solid foundation for your project. This file not only defines your extension but also ensures it functions correctly within the Chrome ecosystem.
Creating the Manifest File
The manifest file is a JSON file that contains important metadata about your Chrome extension. It defines the extension’s name, version, description, permissions, and other settings. To create a manifest file, create a new file named manifest.json in your project directory and include the following basic structure:
{
  "manifest_version": 3,
  "name": "Your Extension Name",
  "version": "1.0",
  "description": "A brief description of your extension.",
  "permissions": [],
  "background": {
    "service_worker": "background.js"
  },
  "action": {
    "default_popup": "popup.html",
    "default_icon": "icon.png"
  }
}
Best Practices & Common Mistakes
When creating your manifest file, ensure you use the correct JSON format and include all necessary fields. Avoid hardcoding sensitive information, and regularly update the version number. Test your extension thoroughly to catch errors early. Remember to check Chrome’s documentation for any updates on manifest requirements.
Building the User Interface
Creating an engaging user interface is crucial when learning how to build a Chrome extension. The first step involves creating the necessary HTML files for your popup and options page. Typically, you will have two main files: popup.html for the extension’s popup and options.html for user settings.
Next, you can style these HTML files using CSS. This will help make your extension visually appealing. For example, you might create a styles.css file and link it in your HTML files:
<link rel="stylesheet" href="styles.css">To add interactivity, JavaScript is essential. You can use it to handle user inputs and events. For instance, you might want to add a button that triggers a specific action:
document.getElementById('myButton').addEventListener('click', function() {
    // Your code here
});
Finally, integrating AI features into the UI can enhance user experience. You might use an AI API to provide suggestions based on user input. This can be done by making an API call when a user interacts with a specific element:
fetch('https://api.example.com/ai', {
    method: 'POST',
    body: JSON.stringify({ input: userInput })
}).then(response => response.json())
  .then(data => {
      // Update the UI with AI response
  });
By following these steps, you will have a functional and attractive user interface for your Chrome extension, making it easier to engage users and showcase the AI features you’ve integrated.
Best Practices & Common Mistakes
When building your Chrome extension UI, prioritize simplicity and user experience. Use clear navigation and consistent design elements. Avoid cluttering the interface with too many features. Test your extension on various screen sizes and devices. Common mistakes include neglecting accessibility and failing to optimize performance. Always seek user feedback for continuous improvement.
Implementing AI Functionality
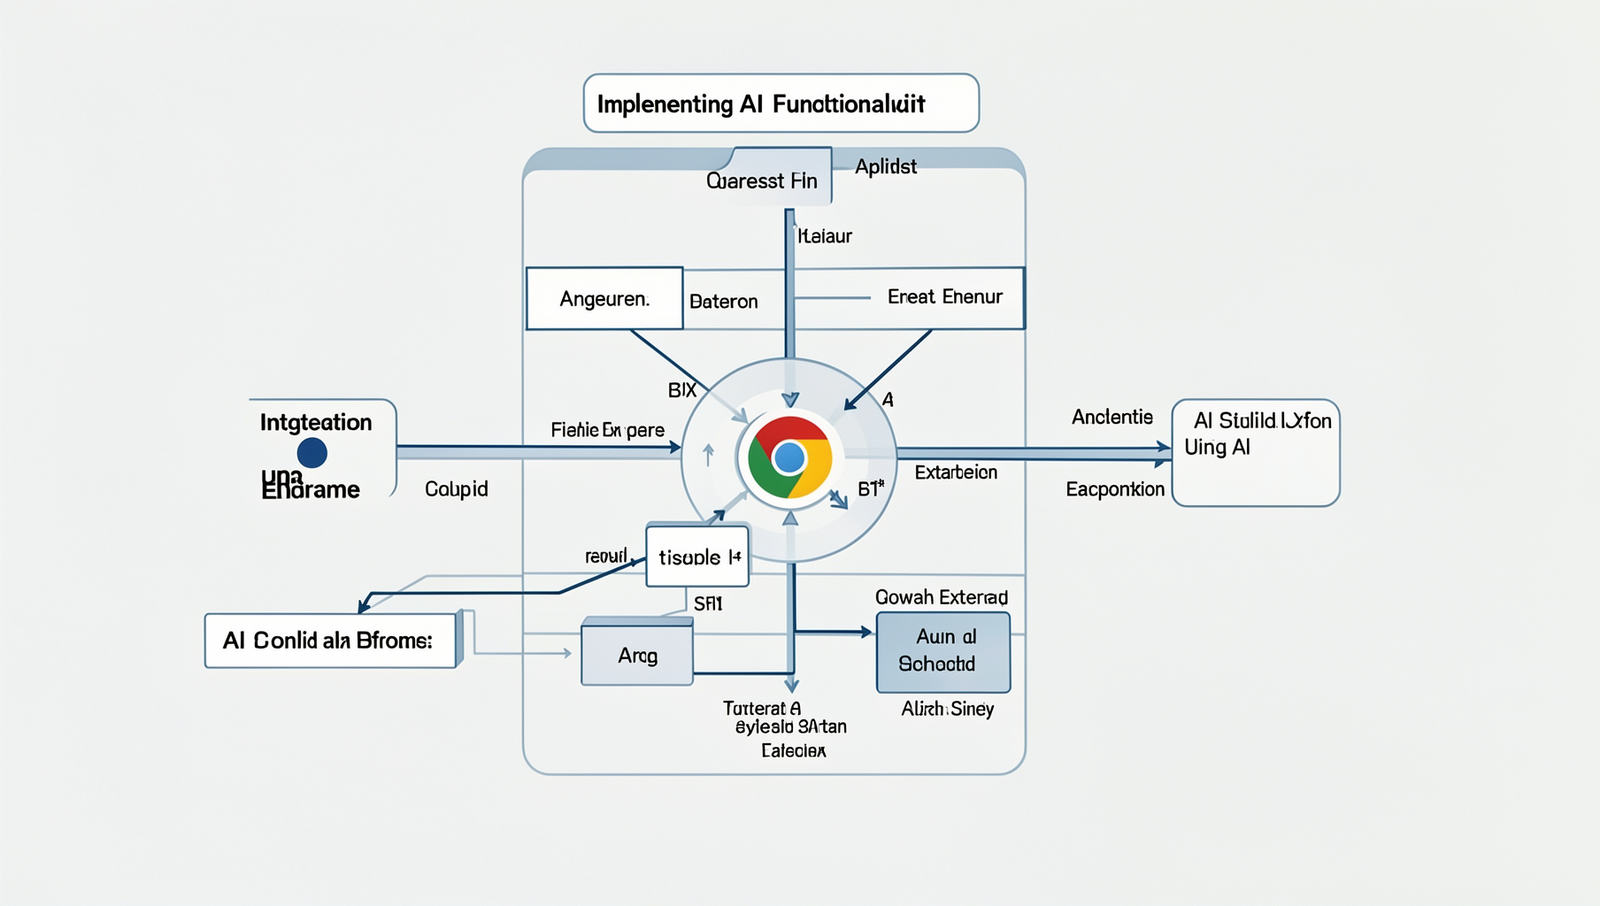
To enhance your Chrome extension with AI capabilities, the first step is to choose an appropriate AI API or library. Popular options include OpenAI’s GPT, Google’s Cloud AI, and IBM Watson. Each of these services offers unique features, so select one that aligns with your extension’s purpose.
Once you’ve chosen an API, you need to set up API calls within your extension. This typically involves creating a function that sends a request to the API endpoint. For example, you might use the following JavaScript code:
const response = await fetch('https://api.example.com/ai', {
    method: 'POST',
    headers: {
        'Content-Type': 'application/json',
        'Authorization': 'Bearer YOUR_API_KEY'
    },
    body: JSON.stringify({ input: userInput })
});
After sending the request, you’ll need to handle the response and display the results in your extension. This can be done by parsing the JSON response and updating the DOM accordingly. Here’s a simple example:
const data = await response.json();
document.getElementById('output').innerText = data.result;
Finally, testing your AI features is crucial to ensure they work as intended. You can use Chrome’s Developer Tools to debug and monitor API calls. Consider implementing unit tests for your functions to automate this process. Here are some tips for effective testing:
- Use mock data to simulate API responses.
- Check for error handling in case of failed requests.
- Test the user experience to ensure results are displayed correctly.
By following these steps, you will have a solid foundation on how to build a Chrome extension that effectively utilizes AI functionality.
Best Practices & Common Mistakes
When implementing AI functionality in your Chrome extension, focus on optimizing performance to avoid slowdowns. Ensure data privacy by handling user information responsibly. Common mistakes include overcomplicating the AI model or neglecting user experience. Pro advice: start with a simple model and iterate based on user feedback for better results.
Testing Your Chrome Extension
Once you have developed your Chrome extension, the next step is testing it to ensure it functions as intended. This involves loading your unpacked extension in Chrome and using various tools to debug and gather feedback.
To load your unpacked extension in Chrome, follow these steps:
- Open Chrome and navigate to
chrome://extensions/. - Enable “Developer mode” using the toggle in the top right corner.
- Click on “Load unpacked” and select the directory of your extension.
After loading your extension, you can use Chrome Developer Tools to debug it. Here’s how:
- Right-click on your extension icon and select “Inspect popup” to open the Developer Tools.
- Use the Console tab to view logs and errors.
- Check the Network tab to monitor API requests and responses.
While testing, you may encounter common issues such as:
- Manifest file errors: Ensure your
manifest.jsonis correctly formatted. - Permission issues: Double-check the permissions declared in your manifest.
- Functionality bugs: Test each feature thoroughly to identify any broken functionality.
Gathering user feedback is crucial for improvements. Consider implementing the following strategies:
- Share your extension with friends or colleagues for initial feedback.
- Use surveys or feedback forms to collect user opinions.
- Monitor reviews and ratings in the Chrome Web Store once published.
By following these steps, you will not only learn how to build a Chrome extension but also ensure it meets user expectations and functions smoothly.
Testing Your Chrome Extension
To ensure your Chrome extension works as intended, follow these steps:
- Load your unpacked extension in Chrome by navigating to
chrome://extensions/and clicking “Load unpacked.” - Test all features thoroughly, checking for errors in the console.
- Use the Chrome Developer Tools to debug and optimize performance.
Best Practices & Common Mistakes
When building your extension, remember to keep your code clean and modular. Avoid hardcoding values and ensure proper permissions in your manifest. Common pitfalls include neglecting user experience and failing to test across different devices. Pro advice: always read the Chrome Web Store policies to avoid rejection during submission.
Publishing Your Extension
Once you have developed your Chrome extension, the next step is to publish it on the Chrome Web Store. This process involves several key steps to ensure that your extension is ready for users.
First, you need to prepare your extension for submission. This includes:
- Ensuring your code is clean and free of errors.
- Creating a detailed description of your extension.
- Providing screenshots and promotional images.
Next, you will need to create a developer account on the Chrome Web Store. To do this, follow these steps:
1. Visit the Chrome Web Store Developer Dashboard.2. Sign in with your Google account.3. Pay the one-time registration fee.After setting up your developer account, you can submit your extension. This involves:
- Uploading your extension package (a .zip file).
- Filling out the necessary information, such as the name and description.
- Submitting your extension for review.
Once submitted, you will need to wait for approval from Google. This process can take anywhere from a few hours to several days. After approval, your extension will be live on the Chrome Web Store.
Finally, promoting your extension is crucial to reach a wider audience. Consider the following strategies:
- Sharing on social media platforms.
- Writing blog posts about your extension.
- Engaging with users through forums and communities.
By following these steps, you will successfully learn how to build a Chrome extension and make it available to users around the world.
Publishing Your Extension
Once your Chrome extension is ready, you can publish it on the Chrome Web Store. To do this, you need to create a developer account and pay a one-time registration fee. After that, you can upload your extension package, fill out the necessary details, and submit it for review. Make sure to follow the guidelines provided by Google to avoid rejection.
Best Practices & Common Mistakes
To ensure a successful extension, follow these tips: keep your code clean, provide clear documentation, and optimize for performance. Avoid common pitfalls like neglecting user feedback, failing to update regularly, and ignoring security best practices. Pro advice: test your extension thoroughly before publishing and engage with your users for continuous improvement.
Step-by-Step Tutorial
Step 1: Set Up Your Development Environment
-
Create a New Directory:
Start by creating a new directory for your Chrome extension. You can do this using the terminal or file explorer. If using the terminal, navigate to your desired location and run:
mkdir my-chrome-extension -
Open the Directory:
Navigate into your newly created directory:
cd my-chrome-extension -
Create the Manifest File:
Inside this directory, create a file named ‘manifest.json’. This file is crucial as it defines your extension’s metadata and permissions. You can create this file using your code editor:
touch manifest.json -
Structure the Manifest File:
Open ‘manifest.json’ in your code editor (like Visual Studio Code) and add the following JSON structure:
{
    "manifest_version": 3,
    "name": "My First Chrome Extension",
    "version": "1.0",
    "description": "A simple Chrome extension built with AI.",
    "permissions": [],
    "background": {
        "service_worker": "background.js"
    }
}
Tips: Use a code editor like Visual Studio Code for better syntax highlighting. Keep your directory organized to avoid confusion.
Warnings: Ensure the ‘manifest_version’ is set to 3 as older versions are deprecated.
Step 2: Create the Background Script
-
Navigate to the directory where your Chrome extension files are located. This is the same directory where your
manifest.jsonfile is stored. -
Create a new file named
background.js. You can do this using a text editor or through the terminal. If you are using the terminal, run the following command:touch background.js -
Open the
background.jsfile in your text editor and add the following code to log a message to the console:console.log("Background script is running!"); -
Ensure that your
background.jsscript is linked in yourmanifest.jsonfile. Openmanifest.jsonand add the following under thebackgroundkey:"background": { "scripts": ["background.js"], "persistent": false } -
Save all changes and load your extension in Chrome to see the console log message. Open the Developer Tools (F12) and check the console for the message.
Tips: Use console logs to debug your scripts effectively. Keep your background script lightweight to improve performance.
Warnings: Make sure to link the background script in manifest.json under the background key.
Frequently Asked Questions
What is a Chrome extension?
A Chrome extension is a small software program that customizes the browsing experience in Google Chrome. Extensions can enhance the functionality of the browser by adding features, modifying web pages, or integrating with other services. They are built using web technologies such as HTML, CSS, and JavaScript. Users can install extensions from the Chrome Web Store, allowing them to personalize their browsing experience according to their needs. Extensions can range from simple tools like ad blockers to complex applications that provide advanced features and integrations.
How do I start building a Chrome extension?
To start building a Chrome extension, you need to have a basic understanding of HTML, CSS, and JavaScript. Begin by creating a manifest file named manifest.json, which defines your extension’s metadata, permissions, and functionality. Next, develop the user interface using HTML and style it with CSS. Implement the core functionality using JavaScript. Once your extension is ready, you can load it into Chrome for testing by navigating to chrome://extensions and enabling Developer Mode. From there, you can load your unpacked extension and see it in action.
Can AI be used in Chrome extensions?
Yes, AI can be integrated into Chrome extensions to enhance their functionality and user experience. For instance, you can use AI algorithms for tasks like natural language processing, image recognition, or personalized recommendations. By leveraging APIs from AI platforms, you can incorporate machine learning models into your extension. This allows for features such as chatbots, content summarization, or intelligent data analysis. Using AI can significantly improve the interactivity and usefulness of your extension, making it more appealing to users.
Where can I find resources to learn more?
There are numerous resources available to help you learn more about building Chrome extensions. The official Chrome Developers website offers comprehensive documentation, tutorials, and sample projects to guide you through the development process. Additionally, platforms like YouTube have video tutorials that can provide visual guidance. Online coding communities such as Stack Overflow and GitHub are excellent for finding answers to specific questions and collaborating with other developers. Finally, consider enrolling in online courses on platforms like Udemy or Coursera that focus on web development and Chrome extension creation.
