
17 min read • 3,766 words
In today’s digital landscape, the ability to run Android apps on PC has become increasingly important for users seeking versatility and enhanced productivity. With the rise of remote work and the need for seamless integration between devices, accessing mobile applications on a larger screen can significantly improve user experience. This article will guide you through various methods to run Android apps natively on your Windows PC, ensuring you can enjoy your favorite mobile applications without the limitations of traditional emulators.
In today’s digital landscape, the ability to run Android apps on PC has become increasingly important for users seeking versatility and enhanced productivity. With the rise of remote work and the need for seamless integration between devices, accessing mobile applications on a larger screen can significantly improve user experience. This article will guide you through various methods to run Android apps natively on your Windows PC, ensuring you can enjoy your favorite mobile applications without the limitations of traditional emulators.
As technology evolves, so do the tools available for bridging the gap between mobile and desktop environments. Windows 11 introduces the Windows Subsystem for Android, allowing users to run Android apps directly on their PCs without the need for cumbersome emulators. Additionally, tools like the ARC Welder extension for Chrome and Samsung DeX provide alternative ways to access Android applications on your desktop. In this article, you will learn about these innovative solutions and how they can enhance your productivity and user experience.
Moreover, the flexibility of running Android apps extends beyond Windows, with options available for Linux users through Anbox and cloud-based services like Appetize.io. These solutions not only cater to different operating systems but also offer unique advantages such as accessibility and ease of use. By exploring these methods, you will gain insights into how to effectively run Android apps on PC, empowering you to leverage the full potential of your favorite mobile applications in a desktop environment.
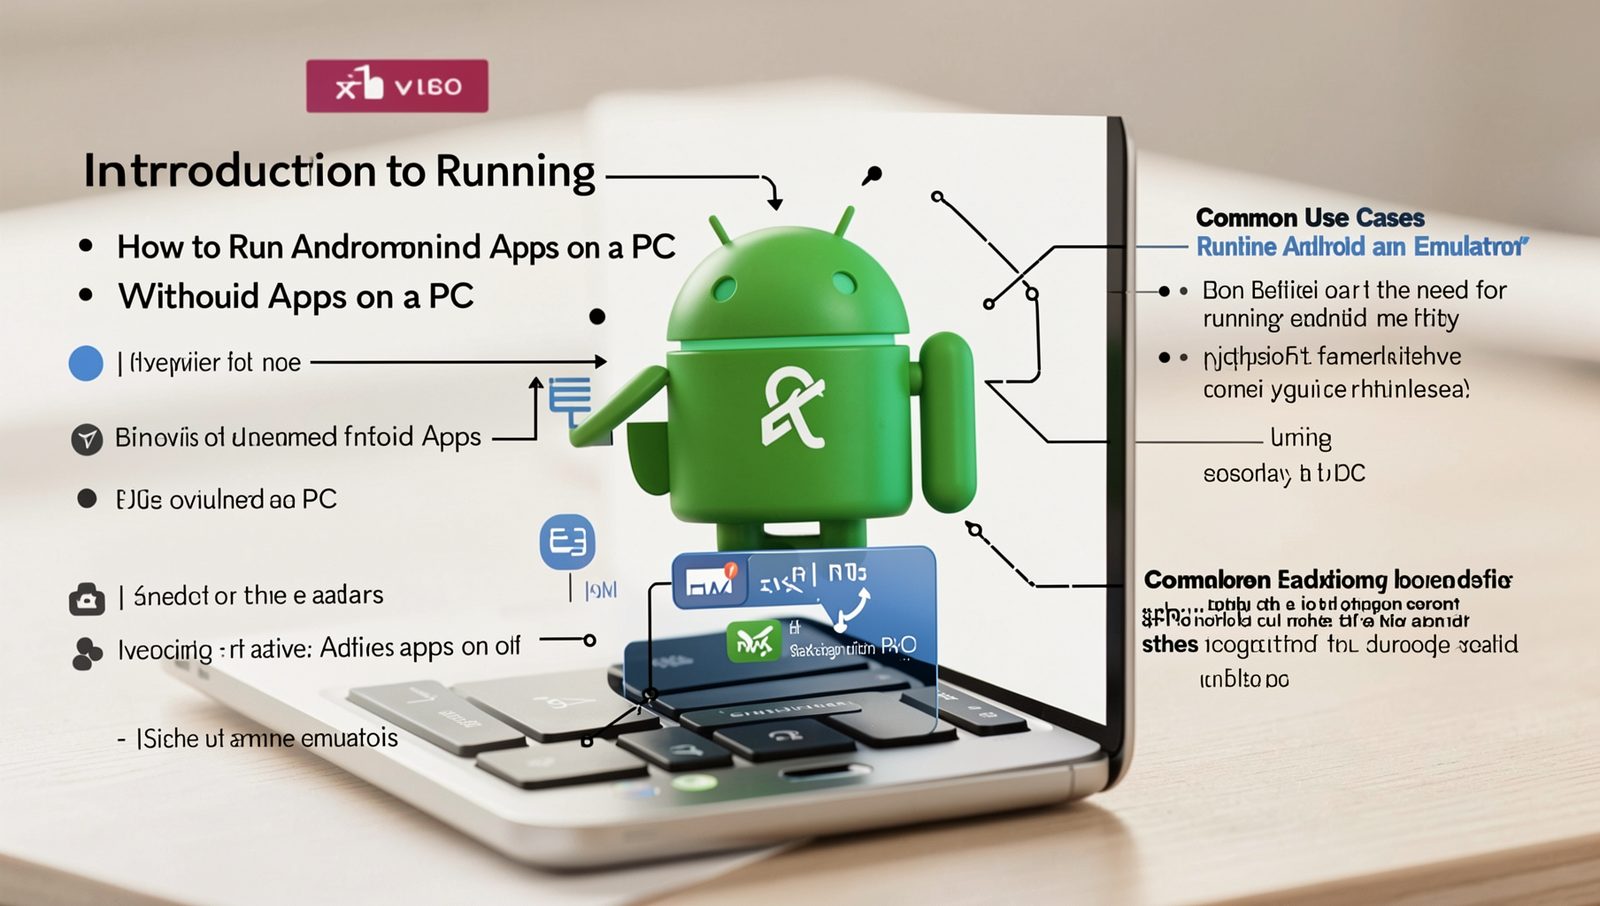
Introduction to Running Android Apps on a PC
In today’s digital landscape, the ability to run Android apps on a PC has become increasingly important. Whether for productivity, gaming, or development purposes, many users seek ways to access their favorite mobile applications on a larger screen. This need arises from the convenience and enhanced user experience that a PC can provide compared to a mobile device.
One of the primary benefits of using native methods over traditional emulators is performance. Native solutions often offer faster loading times and smoother operation, as they utilize the PC’s hardware more efficiently. Emulators, on the other hand, can be resource-intensive and may not always replicate the mobile experience accurately.
Common use cases for running Android apps on a PC include:
- Gaming: Many gamers prefer the larger display and better controls available on a PC.
- Productivity: Apps like Microsoft Office or Google Drive can be more efficient to use on a desktop.
- Development: Developers can test their applications in a more controlled environment.
Several tools and methods are available for running Android apps on a PC. Some popular options include:
- Android Studio: Ideal for developers looking to test their apps.
- Windows Subsystem for Android: A native solution for Windows 11 users.
- ARC Welder: A Chrome extension that allows you to run Android apps directly in the browser.
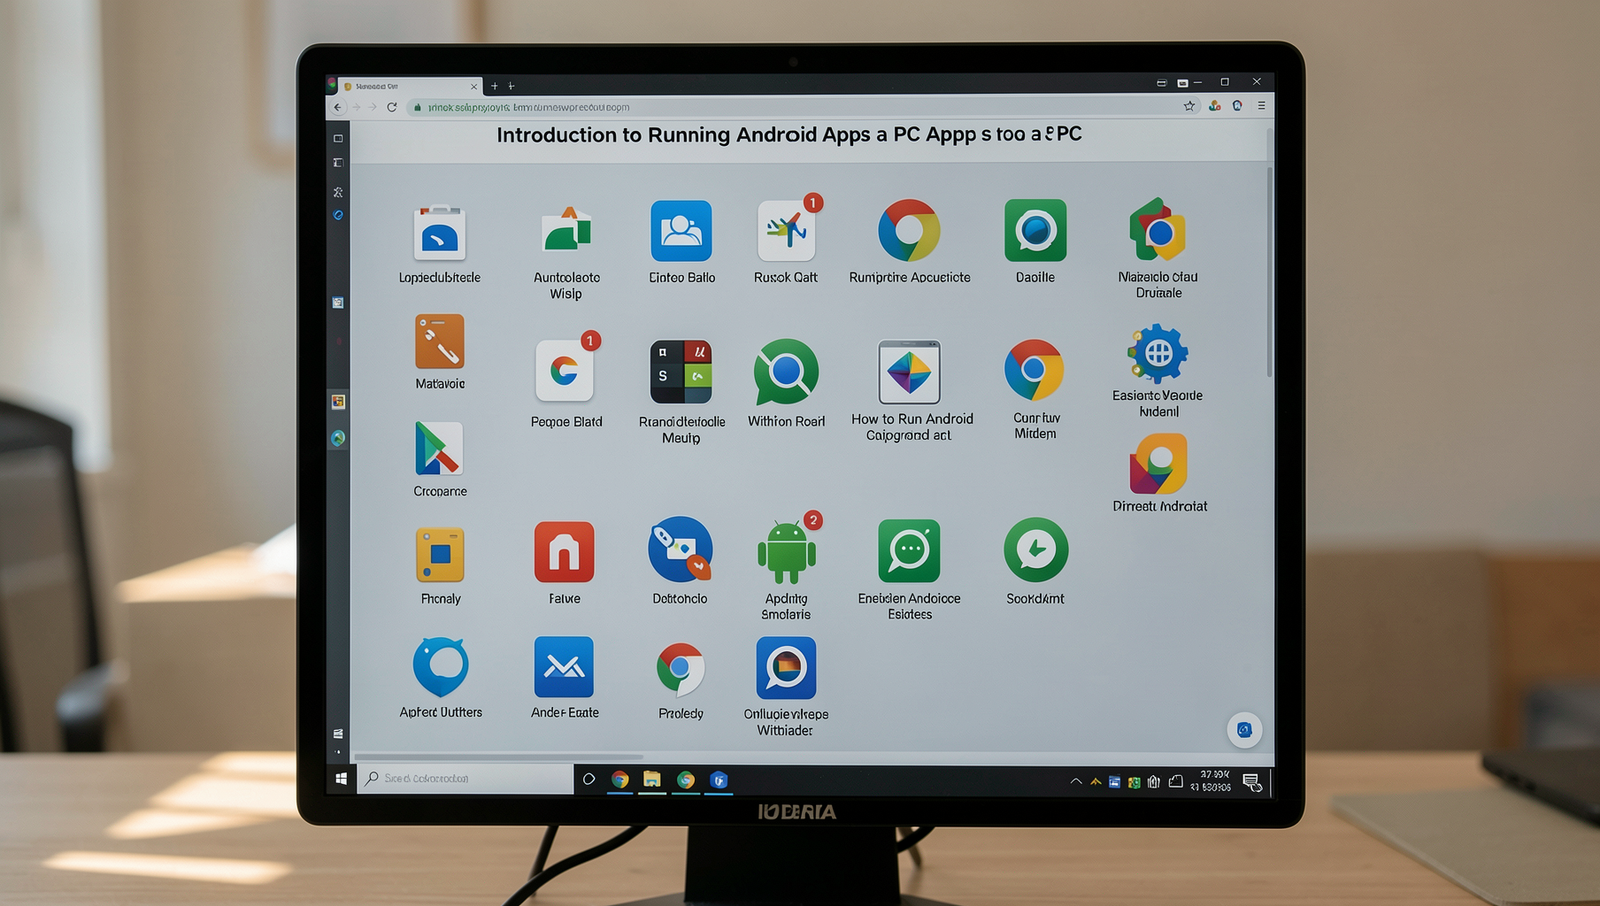
Introduction to Running Android Apps on a PC
Running Android apps on a PC can enhance your productivity and provide a larger screen experience. While emulators are a common solution, there are alternatives that can streamline the process. This guide will explore various methods to run Android apps on your PC without relying on traditional emulators.
Best Practices & Common Mistakes
To ensure a smooth experience, always check app compatibility with your chosen method. Avoid installing apps from untrusted sources to prevent security risks. Keep your system updated and allocate sufficient resources for optimal performance. Lastly, remember that not all apps will function perfectly outside an emulator, so manage your expectations accordingly.
Using Android Debug Bridge (ADB)
Android Debug Bridge (ADB) is a versatile command-line tool that allows you to communicate with an Android device. It plays a crucial role in running Android apps on a PC by enabling developers and users to install and manage applications directly from their computers. With ADB, you can execute various commands, transfer files, and even debug apps, making it an essential tool for anyone looking to run Android apps on PC.
To set up ADB on your PC, follow these steps:
- Download the Android SDK Platform Tools from the official Android developer website.
- Extract the downloaded ZIP file to a location on your PC.
- Add the extracted folder to your system’s PATH environment variable for easy access.
Next, connect your Android device to your PC via USB. Ensure that USB debugging is enabled on your device by navigating to:
- Settings > About phone > Tap on Build number seven times to unlock Developer options.
- Settings > Developer options > Enable USB debugging.
Once your device is connected, you can verify the connection by running the following command in your terminal:
adb devicesIf your device is listed, you are ready to install and run apps using ADB commands. To install an APK file, use the following command:
adb install path/to/your/app.apkAfter installation, you can launch the app using:
adb shell monkey -p your.app.package.name -c android.intent.category.LAUNCHER 1
Using Android Debug Bridge (ADB)
Android Debug Bridge (ADB) is a versatile command-line tool that allows you to communicate with your Android device. It is essential for running Android apps on a PC without an emulator. To use ADB, you need to enable USB debugging on your Android device and install ADB on your PC.
Best Practices & Common Mistakes
Always ensure your device is connected properly and USB debugging is enabled. Avoid using outdated ADB versions as they may cause compatibility issues. Regularly check device permissions and settings. A common mistake is neglecting to install necessary drivers, which can hinder the connection. Always consult official documentation for troubleshooting.
Running Android Apps via Chrome OS
Chrome OS is a lightweight operating system developed by Google, designed primarily for Chromebooks. One of its standout features is the ability to run Android apps natively, allowing users to access a wide range of applications typically available on mobile devices. This compatibility makes it an excellent choice for those looking to run Android apps on PC without the need for traditional emulators.
To enable Android apps on your Chromebook, follow these simple steps:
- Ensure your Chromebook is updated to the latest version of Chrome OS.
- Open the Settings menu by clicking on the time in the bottom right corner.
- Navigate to Apps and select Google Play Store.
- Toggle the option to Enable Google Play Store.
Once you have enabled the Google Play Store, you can easily install Android apps:
- Open the Google Play Store from your app drawer.
- Search for the desired Android app.
- Click Install to download and install the app on your Chromebook.
While running Android apps on Chrome OS is convenient, there are some limitations and considerations to keep in mind:
- Not all Android apps are optimized for Chrome OS, which may lead to performance issues.
- Some apps may have limited functionality compared to their mobile counterparts.
- Resource-intensive apps may not run as smoothly as expected.
Running Android Apps via Chrome OS
How to Run Android Apps on a PC Without an Emulator
Running Android apps on a PC without an emulator can be achieved through various methods, including using Chrome OS or specific software solutions. Here are some effective ways to do this.
Best Practices & Common Mistakes
To optimize your experience, ensure your PC meets the app requirements. Avoid downloading apps from untrusted sources to prevent security risks. Regularly update your software for compatibility. Pro tip: use a reliable internet connection for smoother performance.
Using Windows Subsystem for Android (WSA)
The Windows Subsystem for Android (WSA) allows users to run Android apps on PC seamlessly without the need for traditional emulators. This feature integrates Android applications directly into the Windows environment, providing a more efficient and user-friendly experience. With WSA, you can access a variety of Android apps right from your desktop, enhancing productivity and entertainment options.
Before diving into the installation process, it’s essential to ensure your system meets the necessary requirements. The minimum requirements include:
- Windows 11 (version 22000 or higher)
- At least 8 GB of RAM
- At least 64 GB of storage
- Virtualization enabled in BIOS
To install WSA, follow these steps:
1. Open the Microsoft Store.
2. Search for "Windows Subsystem for Android."
3. Click "Install" to download and install the application.
Once WSA is installed, you can run Android apps by following these steps:
1. Open the Windows Subsystem for Android from the Start menu.
2. Enable the "Developer mode" toggle.
3. Download an Android app in APK format.
4. Use the command line to install the APK:
   adb install path_to_your_apk_file.apk
While WSA provides a robust platform for running Android apps, users may encounter some common issues. Here are troubleshooting tips:
- If apps are not launching, ensure that virtualization is enabled in your BIOS settings.
- Check for updates to WSA and Windows to ensure compatibility.
- Restart the WSA application if you experience performance issues.
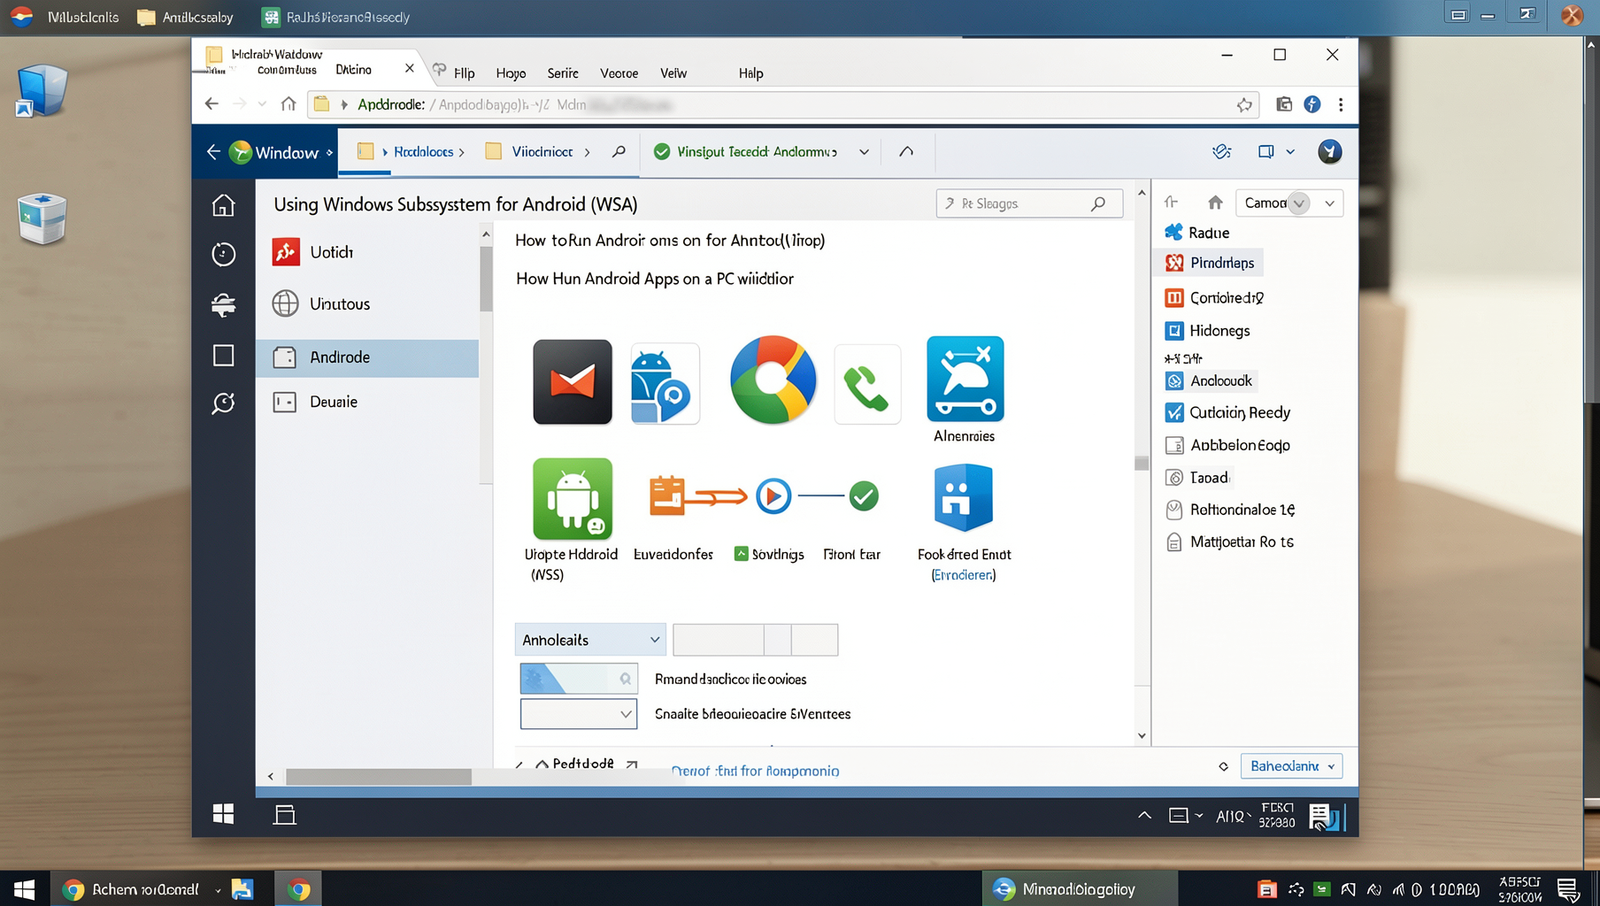
Using Windows Subsystem for Android (WSA)
The Windows Subsystem for Android (WSA) allows you to run Android apps natively on your Windows 11 PC. This feature integrates seamlessly with the Windows environment, providing a smooth experience for users looking to utilize Android applications without the need for traditional emulators.
Best Practices & Common Mistakes
To optimize your experience with WSA, ensure your Windows is updated and check app compatibility. Avoid running too many apps simultaneously to prevent performance issues. Remember to configure your network settings correctly. A common mistake is neglecting to enable virtualization in BIOS, which is crucial for WSA to function properly.
Utilizing Third-Party Tools and Solutions
Running Android apps on a PC can be achieved through various third-party tools that offer unique functionalities. Two popular options are ARC Welder and Scrcpy. ARC Welder is a Chrome extension that allows users to run Android applications directly within the Chrome browser. On the other hand, Scrcpy is a powerful tool that enables screen mirroring and control of Android devices from a PC.
To get started with these tools, follow these steps:
- ARC Welder:
- Install Google Chrome if you haven’t already.
- Download the ARC Welder extension from the Chrome Web Store.
- Launch ARC Welder and load your desired APK file.
- Scrcpy:
- Ensure you have ADB (Android Debug Bridge) installed on your PC.
- Connect your Android device to your PC via USB and enable USB debugging.
- Run the following command to start Scrcpy:
scrcpy
Using these third-party solutions allows users to run Android apps on PC with varying degrees of success. The pros include ease of use and quick setup, while the cons may involve limited app compatibility and potential performance issues. Always consider your specific needs and the capabilities of each tool before proceeding.
Utilizing Third-Party Tools and Solutions
Running Android apps on a PC can be achieved using various third-party tools and solutions that provide a seamless experience without the need for traditional emulators. These tools often offer better performance and compatibility with a wide range of applications. Some popular options include:
- BlueStacks: A widely used Android emulator that allows you to run apps on your PC with ease.
- NoxPlayer: Known for its gaming capabilities, it provides a user-friendly interface for running Android applications.
- LDPlayer: Optimized for gaming, it offers smooth performance and supports multiple instances.
- Genymotion: A powerful tool primarily aimed at developers, allowing for testing and running apps in various Android environments.
- ARChon: A Chrome extension that enables you to run Android apps directly in the Chrome browser.
Each of these tools has its unique features, so it’s essential to choose one that best fits your needs.
Best Practices & Common Mistakes
To maximize your experience, ensure your PC meets the system requirements of the tool you choose. Avoid running too many applications simultaneously to prevent lag. A common mistake is neglecting updates, which can lead to compatibility issues. Always check for the latest versions of both the tool and the Android apps you intend to use.
Optimizing Performance for Android Apps on PC
To successfully run Android apps on PC, optimizing performance is crucial. Here are some tips to enhance the experience:
- Adjust Graphics Settings: Lowering the graphics settings in the app can significantly improve performance. Look for options like resolution and frame rate.
- Allocate More Resources: Increase the amount of RAM and CPU cores allocated to the emulator or app. This can usually be done in the settings menu.
- Disable Unnecessary Background Processes: Close any applications running in the background that may consume system resources.
Managing resources effectively is essential. Here are some practical steps:
- Use
Task Managerto identify and close resource-heavy applications. - Consider using a lightweight Android app version if available.
- Regularly update your graphics drivers to ensure compatibility and performance.
Common performance issues include lagging and crashes. Here are some solutions:
- If the app is lagging, try reducing the resolution or frame rate settings.
- For crashes, ensure that your PC meets the minimum system requirements for the app.
- Check for updates for both the Android app and the emulator software.
By following these tips, you can enhance the performance of Android apps on your PC, ensuring a smoother and more enjoyable experience.
How to Run Android Apps on a PC Without an Emulator
Best Practices & Common Mistakes
To optimize performance, ensure your PC meets the app’s requirements and keep your system updated. Avoid running multiple resource-heavy applications simultaneously to prevent lag. A common mistake is neglecting security; always download apps from reputable sources. Pro advice: regularly check for app updates to benefit from performance enhancements and bug fixes.
Conclusion and Future Prospects
In this article, we explored various methods to run Android apps on PC without relying on traditional emulators. We discussed options such as using Android-x86, which allows you to install Android as a standalone operating system, and utilizing tools like Anbox and ARC Welder that integrate Android apps directly into your existing environment.
As technology evolves, the future of running Android apps on PCs looks promising. We can expect advancements in compatibility and performance, making it easier for users to access mobile applications on larger screens. Additionally, cloud-based solutions may emerge, allowing users to run Android apps without the need for local installations.
We encourage you to explore and experiment with the different methods mentioned. Each approach has its unique advantages, and finding the right fit for your needs can enhance your productivity and enjoyment. Here are some resources to help you further:
Conclusion and Future Prospects
Running Android apps on a PC without an emulator opens up new possibilities for users seeking a seamless experience across devices. As technology continues to evolve, we can expect improvements in compatibility and performance, making it easier to integrate mobile applications into our daily computing tasks. Future developments may also lead to more robust solutions that enhance user experience.
Best Practices & Common Mistakes
To optimize your experience, always check app compatibility before installation. Avoid downloading apps from untrusted sources to prevent security risks. Regularly update your software for improved performance. A common mistake is neglecting system requirements; ensure your PC meets the necessary specifications for smooth operation.
Step-by-Step Tutorial
Step 1: Install Windows Subsystem for Android
- Open Microsoft Store: Click on the Microsoft Store icon in your taskbar or search for it in the Start menu.
-
Search for Windows Subsystem for Android: In the search bar at the top of the Microsoft Store window, type
Windows Subsystem for Androidand pressEnter. -
Select the App: From the search results, locate the
Windows Subsystem for Androidapp and click on it to open the app page. -
Install the App: Click the
Installbutton to begin downloading and installing the Windows Subsystem for Android. -
Check for Windows Updates: Before proceeding, ensure your Windows is up to date. Go to
Settings>Update & Security>Windows Updateand clickCheck for updates. - Restart Your PC: After installation, it is recommended to restart your PC for optimal performance and to ensure the subsystem is properly configured.
Expected Outcome: Windows Subsystem for Android is installed and ready to use.
Tips: Always check for Windows updates before installation to avoid compatibility issues.
Warnings: Ensure your system meets the minimum requirements for Windows Subsystem for Android to function correctly.
Step 1: Install Windows Subsystem for Android
To run Android apps on your PC without an emulator, the first step is to install the Windows Subsystem for Android. This allows you to run Android applications natively on Windows 11.
Troubleshooting & Verification
Verify the installation was successful by checking the Windows Features. If you encounter errors, ensure your system meets the requirements. Use
Get-WindowsFeature -Name "Windows-Subsystem-Android"for diagnostics.
Step 2: Enable Developer Mode
To run Android apps on your PC without an emulator, you need to enable Developer Mode. Follow these detailed instructions:
- Open the Settings app on your PC. You can do this by clicking on the Start menu and selecting the gear icon.
- In the Settings window, navigate to Privacy & security.
- Scroll down and find the section labeled For developers.
- Toggle the switch for Developer mode to the “On” position. This will allow you to install apps from sources outside the Microsoft Store.
Once Developer Mode is enabled, you can sideload Android apps onto your PC. However, be cautious and only install apps from trusted sources to avoid potential security risks. It is also advisable to disable Developer Mode when it is not needed to enhance your system’s security.
Warning: Enabling Developer Mode may expose your PC to security risks. Ensure you understand the implications before proceeding.
Step 3: Download Android APK Files
In this step, you will find and download the APK files of the Android apps you wish to run on your PC. Follow these detailed instructions to ensure a safe and successful download:
-
Choose a Reputable Source:
Visit a trusted website for APK downloads, such as APKMirror or APKPure. These sites are known for their safety and reliability.
-
Search for the Desired App:
Use the search bar on the site to find the specific Android app you want to download. Make sure to check the app’s version to ensure compatibility.
-
Check User Reviews:
Before downloading, read user reviews and ratings for the APK file. This will help you gauge the reliability of the file and avoid potential malware.
-
Download the APK File:
Click the download button for the APK file. Ensure that you are downloading the correct version for your needs.
-
Store the APK File:
Save the downloaded APK file in a designated folder on your PC for easy access later.
Warnings: Avoid downloading APKs from untrusted websites to protect your PC from malware and other security threats.
Frequently Asked Questions
Can I run Android apps on my PC without an emulator?
Yes, it is possible to run Android apps on your PC without using a traditional emulator. One of the most effective methods is by installing a version of Android directly on your PC, such as Android-x86 or other similar projects. These solutions allow you to boot Android natively on your hardware, providing a more seamless experience compared to emulators. Additionally, some software solutions enable you to run Android apps directly on Windows, but they may not offer the full functionality of a native installation.
What is Android-x86?
Android-x86 is an open-source project that aims to port the Android operating system to the x86 architecture, allowing it to run on standard PC hardware. This project provides a complete Android experience on your computer, enabling you to install and run Android applications natively. Users can download an ISO image of Android-x86 and create a bootable USB drive or install it alongside their existing operating system. This approach offers better performance and compatibility compared to emulators, as it utilizes the full capabilities of your PC’s hardware.
Are there any risks involved?
While running Android apps on your PC without an emulator can be beneficial, there are some risks to consider. Installing a new operating system like Android-x86 may lead to data loss if not done carefully, especially if you choose to dual-boot with another OS. Additionally, not all hardware is fully compatible with Android-x86, which can result in issues such as missing drivers or hardware malfunctions. It’s essential to back up your data and research your specific hardware compatibility before proceeding with the installation.
Do I need special hardware?
In most cases, you do not need special hardware to run Android apps on your PC using Android-x86. However, certain components, such as graphics cards and network adapters, may require specific drivers for optimal performance. It’s advisable to check the compatibility of your hardware with the Android-x86 project before installation. Generally, a modern PC with a decent processor and at least 2GB of RAM should be sufficient for running Android smoothly. Older hardware may work, but performance could be limited, affecting the overall experience.
Conclusion and Future Prospects
In this article, we explored various methods to run Android apps on PC without relying on traditional emulators. We discussed options such as using Android-x86, which allows you to install Android as a standalone operating system, and utilizing tools like Anbox and ARC Welder that integrate Android apps directly into your existing environment.
As technology evolves, the future of running Android apps on PCs looks promising. We can expect advancements in compatibility and performance, making it easier for users to access mobile applications on larger screens. Additionally, cloud-based solutions may emerge, allowing users to run Android apps without the need for local installations.
We encourage you to explore and experiment with the different methods mentioned. Each approach has its unique advantages, and finding the right fit for your needs can enhance your productivity and enjoyment. Here are some resources to help you further:
