
10 min read • 2,069 words
In today’s digital age, ensuring a safe online environment for children is more important than ever. With the vast array of content available on the internet, parents often find themselves concerned about what their children are accessing. This is where learning how to set up parental controls on home WiFi becomes essential. By utilizing the built-in features of most routers, parents can effectively manage and monitor their children’s online activities, providing peace of mind while they explore the digital world.
Understanding how to set up parental controls on home WiFi not only helps in restricting access to inappropriate websites but also allows parents to categorize content based on their family’s values. Many routers come equipped with tools that enable users to block specific sites or entire categories, ensuring that children are protected from harmful or unsuitable material. This proactive approach to internet safety is crucial for fostering a healthy online experience.
Additionally, parents can set time limits for internet usage on devices connected to their WiFi, promoting a balanced lifestyle for their children. Some routers even offer features that allow monitoring of online activity, giving parents insights into their children’s internet habits. As technology evolves, firmware updates may enhance these parental control features, making it even easier to safeguard your family’s online experience. In this article, we will guide you through the steps to effectively implement these controls, ensuring a secure and enjoyable internet experience for your kids.
Step-by-Step Tutorial
Step 1: Access Your Router Settings
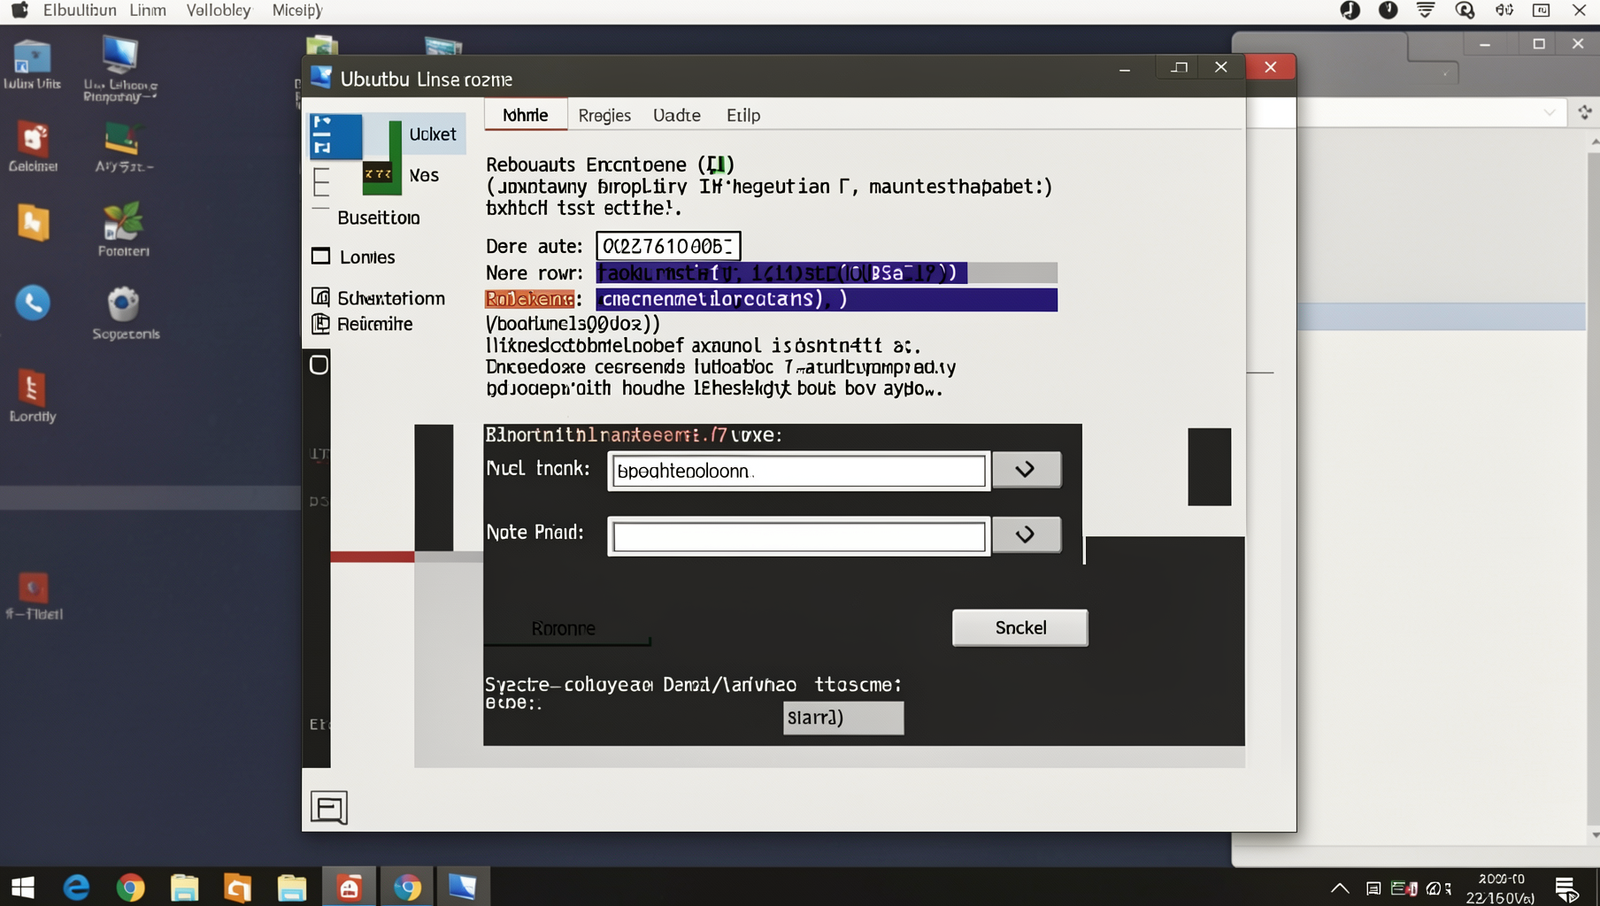
- Connect to your home WiFi network. Make sure your device is connected to the network you want to configure.
- Open a web browser on your device. This can be any browser such as Chrome, Firefox, or Safari.
- In the address bar, type your router’s IP address. Common addresses are
192.168.1.1or192.168.0.1. PressEnterto proceed. - You should see the router’s admin interface. This is where you can configure various settings, including parental controls.
Tips: If you don’t know your router’s IP address, check the documentation that came with your router or search online for your specific router model.
Warnings: Ensure you are connected to your home network before attempting to access the router settings. Using a wired connection can provide a more stable connection during this process.
Troubleshooting & Verification
If you cannot access your router settings, ensure your device is connected to the WiFi network. Verify the router’s IP address, usually found on the device label or in the manual. If the default login credentials don’t work, try resetting the router or consult your ISP for assistance.
Step 2: Locate Parental Control Settings
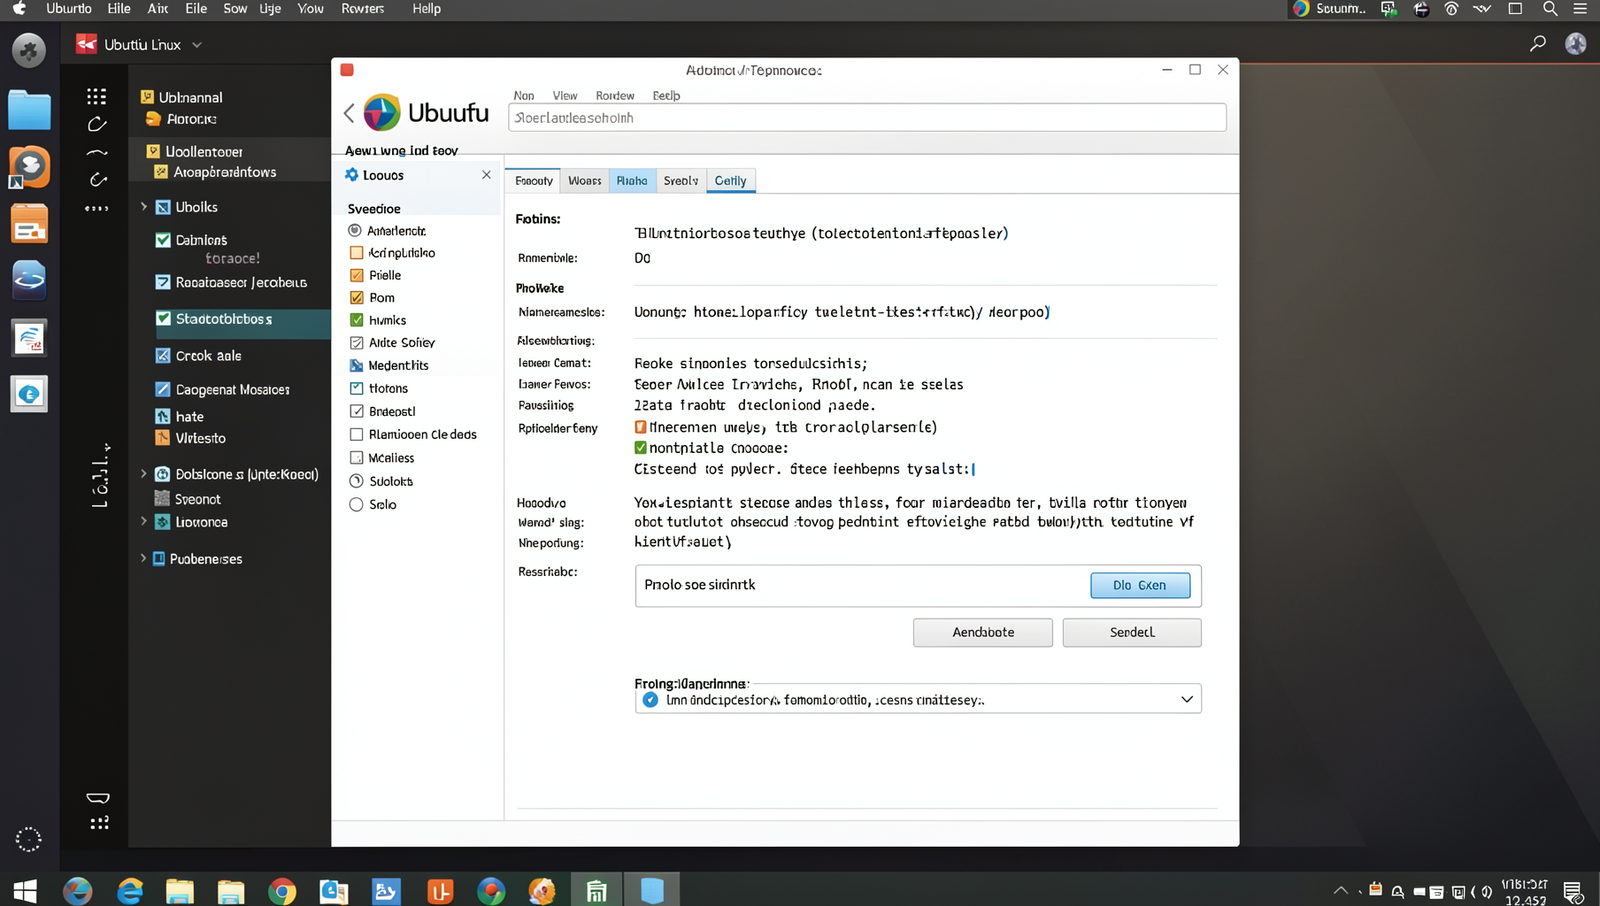
- After logging into your router’s admin interface, look for a menu or tab labeled ‘Parental Controls’ or ‘Access Restrictions’.
- If you do not see these options immediately, check under sections such as ‘Security’, ‘Advanced’, or ‘Settings’.
- In some routers, you may need to click on ‘Network’ or ‘Internet Settings’ to find the parental control features.
- Once you locate the parental control settings, take a moment to review any existing configurations. This will help you understand the current restrictions in place.
- If your router does not have parental control features, refer to the router’s specifications or manual for confirmation.
Remember, not all routers support parental controls, so it’s essential to verify this feature before proceeding.
For specific navigation instructions, consult your router’s manual.
Troubleshooting & Verification
If you cannot find the parental control settings, ensure you are logged into the correct router interface. Check the user manual or the manufacturer’s website for specific instructions related to your router model. Additionally, verify that your router’s firmware is up to date, as outdated firmware may hide certain features.
Step 3: Create User Profiles for Each Child
- Access your router’s admin panel by entering its IP address in a web browser. Common addresses include
192.168.1.1or192.168.0.1. - Log in with your admin credentials. If you haven’t changed them, the default username and password can often be found on the router or in its manual.
- Navigate to the parental controls section of the settings menu. This may be labeled as “Parental Controls,” “Access Restrictions,” or something similar.
- Select the option to create a new user profile. Enter the name or initials of your child to personalize the profile.
- Customize the settings for each profile, including content restrictions, time limits, and allowed websites.
- Consider assigning different colors or icons to each profile for easy identification.
- Save the settings and repeat the process for each child, ensuring that all profiles are updated as your children grow.
Ensure that you enter correct information to avoid confusion later. By following these steps, user profiles for each child are created successfully.
Troubleshooting & Verification
If user profiles aren’t functioning as expected, ensure each profile is correctly linked to the child’s device. Check for any software updates on the router. Verify that the parental control settings are saved and active. Test the restrictions by attempting to access blocked content from each child’s device.
Step 4: Set Time Limits and Access Restrictions
-
Access your router’s settings by entering its IP address in a web browser. This is often
192.168.1.1or192.168.0.1. - Log in with your administrator credentials. If you haven’t changed them, the default username and password can usually be found on the router or in its manual.
- Navigate to the parental controls section, which may be labeled as “Access Restrictions” or “Parental Controls.”
- Create user profiles for each child or device. Assign a name to each profile for easy identification.
- Set specific time limits for internet usage by selecting the days and hours when internet access is allowed for each profile.
- Restrict access to certain websites or categories of content by adding them to the block list. This may include adult content, social media, or gaming sites.
- Save your settings and reboot the router if necessary to apply the changes.
Discuss internet usage rules with your children to ensure they understand the limits. Regularly review and adjust the settings as needed. Be mindful of the time limits you set to avoid conflicts with homework or other important activities.
Troubleshooting & Verification
If time limits or access restrictions aren’t functioning as expected, verify that the settings were saved correctly. Restart your router to apply changes. Check device connectivity to ensure they are connected to the correct network. Review parental control logs for any discrepancies and adjust settings accordingly to ensure proper functionality.
Step 5: Enable Content Filtering
- Access your router’s settings by entering its IP address in your web browser. This is typically
192.168.1.1or192.168.0.1. - Log in with your admin credentials. If you haven’t changed them, the default username and password can usually be found on the router or in its manual.
- Navigate to the “Parental Controls” or “Content Filtering” section of the settings menu.
- Look for options to block specific URLs or categories of content. Select the categories you wish to restrict, such as adult content, gambling, or social media.
- If available, enter specific URLs you want to block in the designated field.
- Save your changes and reboot the router if necessary to apply the new settings.
For better protection, use a combination of URL blocking and category filtering. Regularly check the effectiveness of the filters and monitor your children’s internet usage, as content filters are not foolproof.
Troubleshooting & Verification
If content filtering isn’t working, ensure the settings are saved and the router is rebooted. Check for firmware updates, as outdated software may cause issues. Test the filtering by visiting restricted sites. If problems persist, consult your router’s manual or support site for specific troubleshooting steps related to your device model.
Step 6: Save Settings and Test
- Save Your Settings: After you have made all necessary adjustments to the parental control settings, look for a button labeled “Save” or “Apply” on your router’s configuration page. Click this button to ensure that all your changes are stored correctly.
- Confirm Changes: Once you have saved the settings, it is important to confirm that they have been applied. You can do this by navigating back to the parental controls section and checking if your settings are displayed as you configured them.
- Test the Restrictions: Open a web browser on a device connected to your home WiFi. Attempt to access websites or content that you have restricted. If the parental controls are functioning correctly, you should see a block page or a message indicating that access is denied.
- Document Your Settings: Keep a record of your parental control settings for future reference. This will help you remember what restrictions are in place and make it easier to update them as your children’s needs change.
- Regular Testing: Make it a habit to regularly test and update your parental control settings. As your children grow, their internet usage may change, and you may need to adjust the restrictions accordingly.
Warning: If you forget to save your settings, all configurations may be lost, requiring you to set them up again from scratch.
Troubleshooting & Verification
If parental controls are not functioning as expected, ensure that you have saved the settings correctly. Restart your router to apply changes. Test the controls by attempting to access restricted content. Check for firmware updates on your router, as outdated software may affect functionality. Consult your router’s manual for specific instructions.
Conclusion
Setting up parental controls on your home WiFi is a crucial step in safeguarding your family’s online experience. By following the outlined steps, such as accessing your router settings, configuring filters, and monitoring usage, you can effectively manage the content your children access. These controls not only help in blocking inappropriate websites but also promote healthy internet habits by limiting screen time and encouraging responsible usage.
Now that you know how to set up parental controls on home WiFi, it’s time to implement these measures. Regularly review and adjust the settings as your children grow and their online needs change. Additionally, maintain open communication with your kids about internet safety to foster a trusting environment while they explore the digital world.
Frequently Asked Questions
How do I access my router’s settings to set up parental controls?
To access your router’s settings, first, connect your device to the home WiFi network. Open a web browser and enter your router’s IP address in the address bar, commonly 192.168.1.1 or 192.168.0.1. You will be prompted to log in; use the default username and password found on the router or in its manual. Once logged in, navigate to the parental controls section, which may be located under security or advanced settings. From there, you can configure the desired restrictions and settings for your network.
What features should I look for in parental control settings?
When evaluating parental control features, consider options such as content filtering, time management, and usage monitoring. Content filtering allows you to block specific websites or categories of content deemed inappropriate. Time management features enable you to set limits on internet usage during certain hours. Additionally, look for usage monitoring tools that provide insights into your child’s online activities, including the websites they visit and the time spent on each. These features collectively help create a safer online environment for your children.
Can I set different restrictions for different devices?
Yes, most modern routers with parental control features allow you to set different restrictions for individual devices. After logging into your router’s settings, you can usually identify connected devices by their names or MAC addresses. Once identified, you can apply specific rules to each device, such as blocking certain websites, setting time limits, or restricting access to specific content categories. This flexibility ensures that you can tailor the internet experience based on the age and needs of each child or family member.
How can I monitor my child’s internet usage?
Monitoring your child’s internet usage can be done through your router’s parental control settings or by using dedicated monitoring software. In the router settings, look for a section that provides usage statistics, which may include a log of visited websites and time spent online. Alternatively, consider using third-party parental control applications that offer more comprehensive monitoring features, such as real-time alerts and detailed reports. Regularly reviewing this information will help you stay informed about your child’s online activities and ensure their safety.
