
17 min read • 3,708 words
In today’s digital age, the accidental deletion of files can be a frustrating experience for anyone using a Windows operating system. Whether it’s important documents, cherished photos, or vital project files, losing data can feel devastating. Fortunately, there are several effective methods to recover deleted files from Windows without the need for additional software. This article will guide you through practical steps to help you retrieve your lost files, ensuring that you can restore your important data with ease and confidence.
In today’s digital age, the accidental deletion of files can be a frustrating experience for anyone using a Windows operating system. Whether it’s important documents, cherished photos, or vital project files, losing data can feel devastating. Fortunately, there are several effective methods to recover deleted files from Windows without the need for additional software. This article will guide you through practical steps to help you retrieve your lost files, ensuring that you can restore your important data with ease and confidence.
Understanding how to recover deleted files from Windows is crucial, especially for individuals and businesses that rely heavily on digital documentation. Many users may not realize that Windows has built-in features designed to help recover lost files, which can save time and prevent the need for costly recovery software. In this article, you will learn how to utilize tools like the Recycle Bin, File History, and Windows Backup, as well as explore options for accessing cloud storage services linked to your PC. These methods can significantly increase your chances of successful file recovery.
As you navigate through this article, you will discover step-by-step instructions on how to access various recovery options available within the Windows operating system. From checking the Recycle Bin for recently deleted files to utilizing File History and exploring previous versions of files, each method offers a unique approach to data recovery. Additionally, we will discuss the importance of setting up backups in advance, ensuring that you are better prepared for any future data loss. By the end of this guide, you will be equipped with the knowledge to effectively recover deleted files from Windows and safeguard your valuable data.

Introduction to File Recovery
Understanding file deletion in Windows is crucial for anyone who uses a computer. When you delete a file, it is not immediately erased from your hard drive. Instead, Windows marks the space occupied by the file as available for new data, which means that the file can often be recovered if you act quickly.
The importance of quick recovery actions cannot be overstated. The longer you wait to attempt recovery, the higher the chance that new data will overwrite the deleted file, making recovery impossible. Therefore, if you realize that you need to recover deleted files in Windows, it is essential to take immediate action.
There are several methods to recover deleted files without software, including:
- Checking the Recycle Bin
- Using the Windows File History feature
- Restoring previous versions of files
- Utilizing Command Prompt
Common misconceptions about file recovery include the belief that once a file is deleted, it is gone forever. In reality, many files can be recovered unless they have been overwritten. Additionally, some users think that recovery requires specialized software, but as outlined, there are effective methods available within Windows itself.
Introduction to File Recovery
Recovering deleted files from Windows can be a daunting task, especially if you don’t have specialized software. However, there are several methods you can employ to attempt recovery without additional tools. This guide will walk you through the steps to recover deleted files using built-in Windows features and some best practices to keep in mind.
Best Practices & Common Mistakes
To maximize your chances of recovery, always act quickly and avoid using the drive where files were deleted. Regularly back up important data to prevent future loss. Common mistakes include ignoring the Recycle Bin and not checking file history. Pro advice: familiarize yourself with Windows recovery options for efficient troubleshooting.
Check the Recycle Bin
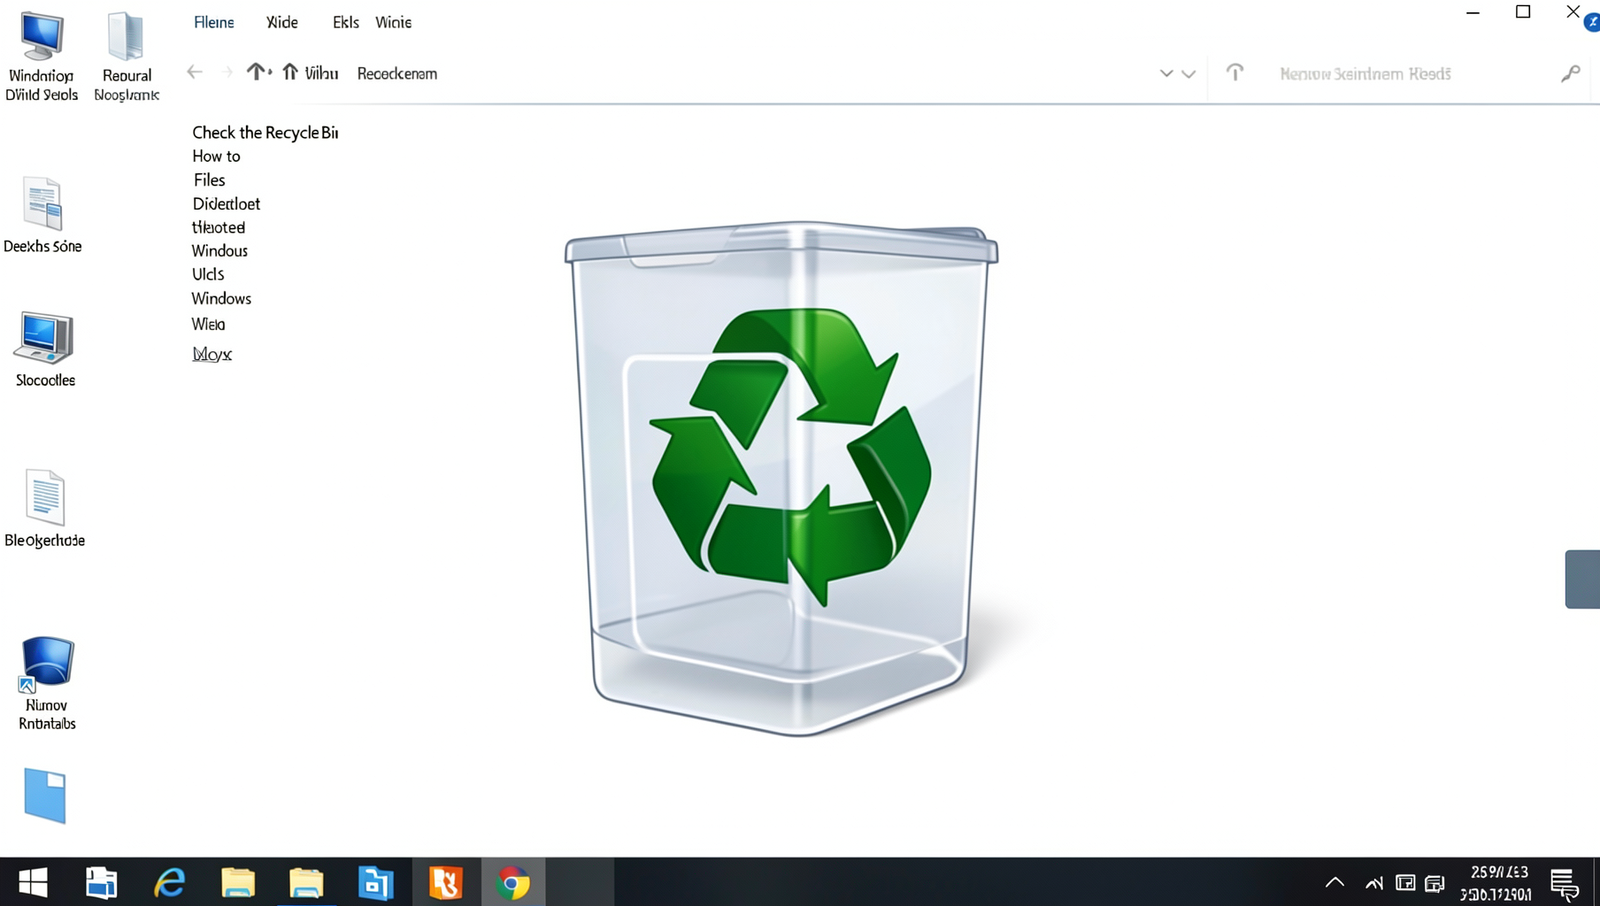
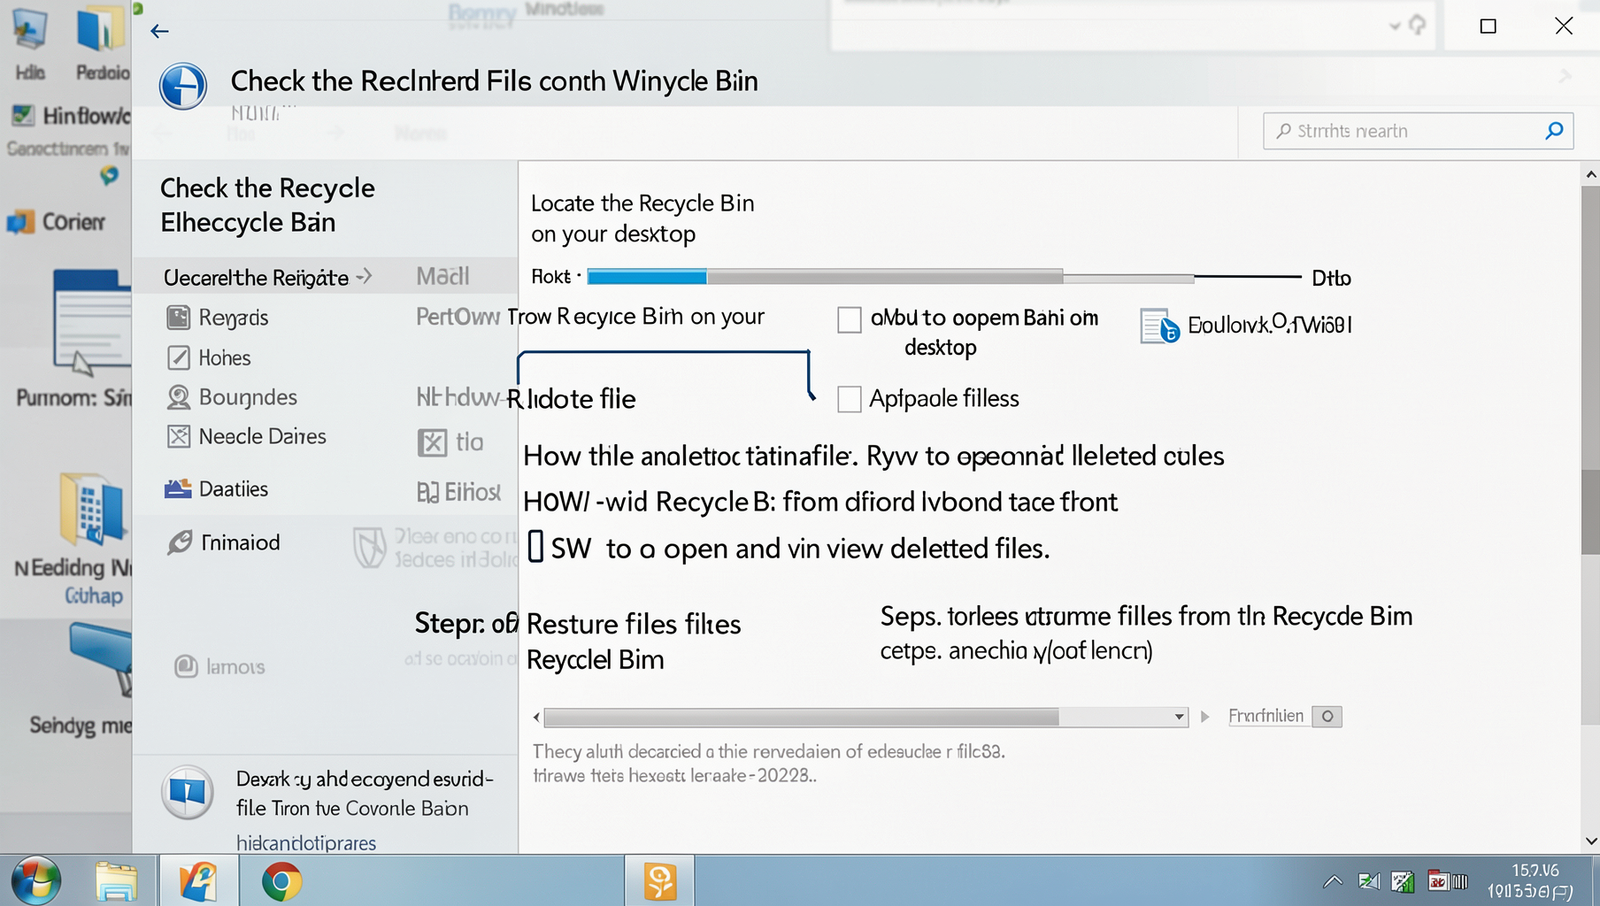
One of the first places to check when you need to recover deleted files in Windows is the Recycle Bin. This built-in feature temporarily stores files that you have deleted, allowing you to easily restore them if needed.
To locate the Recycle Bin, look for its icon on your desktop. It typically resembles a trash can. If you cannot find it, you can access it by following these steps:
- Right-click on the desktop and select
Personalize. - Click on
Themesin the left sidebar. - Scroll down and click on
Desktop icon settings. - Check the box next to
Recycle Binand clickOK.
To open the Recycle Bin and view deleted files, simply double-click the Recycle Bin icon on your desktop. This will open a window displaying all the files you have recently deleted. You can browse through these files to find what you need.
If you find the file you want to recover, follow these steps to restore it:
- Right-click on the file you wish to restore.
- Select
Restorefrom the context menu.
This action will move the file back to its original location on your computer.
However, if the Recycle Bin is empty, you will not be able to recover deleted files from there. In this case, consider checking backup solutions or other recovery methods, as files that are not in the Recycle Bin may be permanently lost unless you have a backup.
Check the Recycle Bin
Before diving into more complex recovery methods, always check the Recycle Bin. Deleted files often remain here temporarily. To restore a file, simply right-click on it and select “Restore.” This action will return the file to its original location, making it the quickest and easiest recovery option.
Best Practices & Common Mistakes
To maximize your chances of recovery, regularly back up your data and avoid using the affected drive until recovery is complete. Common mistakes include overlooking the Recycle Bin and assuming deleted files are permanently lost. Always double-check before proceeding with recovery methods.
Use File History
The Windows File History feature is a built-in tool designed to help users back up and restore their files easily. It continuously saves copies of your files, allowing you to recover deleted files from Windows without needing third-party software. Understanding how to utilize this feature can be invaluable in situations where important documents are lost.
To access the File History settings, follow these steps:
- Open the Control Panel.
- Select “System and Security.”
- Click on “File History.”
Once you are in the File History settings, you can enable it if it is not already active. To restore previous versions of files, you can follow these steps:
- Navigate to the folder where the deleted file was located.
- Right-click on the folder and select “Restore previous versions.”
- A list of available versions will appear; select the version you wish to restore.
- Click “Restore” to recover the file.
However, it’s important to note the limitations of File History. This feature only works if it has been enabled prior to the deletion of the files. If File History was not set up, or if the backup does not include the specific file version you need, recovery may not be possible. Additionally, File History is designed for personal files and may not cover system files or applications.
Use File History
File History is a built-in Windows feature that automatically backs up your files. To recover deleted files using File History, follow these steps:
- Open the Control Panel and select File History.
- Click on Restore personal files.
- Browse through the backup versions to find the deleted file.
- Select the file and click the Restore button.
Best Practices & Common Mistakes
To maximize your chances of successful recovery, regularly back up your files and ensure File History is enabled. Avoid common pitfalls like ignoring backup notifications or failing to check the correct drive. Pro advice: periodically test your backups to confirm they work, and keep multiple backup versions for added security.
Restore Previous Versions of Files
Windows has a built-in feature that allows users to recover deleted files through the use of restore points. These restore points are snapshots of your system’s files and settings at a specific time. Windows automatically creates restore points during significant system events, such as software installations, Windows updates, or when you manually create one. This feature can be invaluable when you need to recover deleted files in Windows.
To access previous versions of files, follow these steps:
- Open
File Explorer. - Navigate to the folder where the deleted file was originally located.
- Right-click on the folder and select
Properties. - Go to the
Previous Versionstab. - Select a version of the folder from the list and click
Restore.
Using File Explorer to restore files is straightforward. For example, if you accidentally deleted a document from your “Documents” folder, you can right-click on the “Documents” folder, access its properties, and view the previous versions available for restoration. Simply select the desired version and restore it to recover your deleted files in Windows.
However, there are limitations to this method. Not all files may have previous versions available, especially if System Protection is not enabled or if the restore points have been deleted. Additionally, this method only works for files that were stored in locations monitored by Windows, such as user folders.
Restore Previous Versions of Files
Windows offers a built-in feature to restore previous versions of files. This can be particularly useful if you’ve accidentally deleted or modified a file. To access this feature, right-click on the file or folder, select “Properties,” and then navigate to the “Previous Versions” tab. Here, you can choose a version to restore.
Best Practices & Common Mistakes
To maximize recovery success, regularly back up your files and enable System Restore. Avoid overwriting files after deletion, as this reduces recovery chances. Always check the Recycle Bin first. Remember, using command line tools can be powerful, but ensure you understand commands to prevent accidental data loss.
Utilize Windows Backup and Restore
The Windows Backup and Restore feature is a built-in utility that allows users to create backups of their files and restore them when needed. This feature can be invaluable when trying to recover deleted files from Windows. By regularly backing up important data, you can ensure that even if files are accidentally deleted, they can be restored easily.
To access the Backup settings, follow these steps:
- Click on the Start menu.
- Type
Control Paneland pressEnter. - Navigate to System and Security.
- Select Backup and Restore (Windows 7).
Once you are in the Backup and Restore section, you can restore files from a backup by following these steps:
- Click on Restore my files.
- Follow the prompts to search for the files you wish to recover.
- Select the files and click Next.
- Choose the location where you want to restore the files and click Restore.
When using this method, consider the following:
- Ensure that backups are created regularly to avoid data loss.
- Check the backup settings to confirm that the files you want to recover are included.
- Be aware that restoring files may overwrite existing files in the chosen location.
By utilizing Windows Backup and Restore, you can effectively recover deleted files in Windows, making it a reliable option for data recovery.
Utilize Windows Backup and Restore
Windows Backup and Restore is a built-in feature that allows users to create backups of their files and restore them when needed. To recover deleted files using this method, follow these steps:
- Open the Control Panel.
- Select “Backup and Restore (Windows 7)” option.
- Click on “Restore my files.”
- Follow the prompts to locate and restore your deleted files.
Best Practices & Common Mistakes
Always maintain regular backups to avoid data loss. Ensure your backup settings are correctly configured. A common mistake is neglecting to check backup integrity. Pro advice: test your backups periodically to confirm they work, and store backups in multiple locations for added security.
Check Cloud Storage Options
When attempting to recover deleted files on Windows, one of the first places to check is your cloud storage. Services like OneDrive and Google Drive automatically back up files, making it easier to retrieve lost data. If you have been using these services, there’s a good chance your files may still be accessible online.
To determine if your files were backed up, follow these steps:
- Log in to your OneDrive or Google Drive account.
- Navigate to the “Recent” or “Trash” folder to see if your deleted files are listed.
- Use the search function to look for specific file names.
To restore files from cloud storage, you can follow these steps:
- In OneDrive, right-click on the file and select “Restore” from the context menu.
- In Google Drive, locate the file in the Trash, right-click, and choose “Restore”.
However, there are limitations to consider when using cloud recovery. Files may only be retained for a limited time in the Trash, and if your storage quota is exceeded, older files may be automatically deleted. Always ensure that your cloud settings are configured to back up important files regularly to avoid data loss.
Check Cloud Storage Options
If you have been using cloud storage services like Google Drive, OneDrive, or Dropbox, check their trash or deleted files section. Most cloud services retain deleted files for a certain period, allowing you to restore them easily. Log in to your account and navigate to the appropriate section to recover your files.
Best Practices & Common Mistakes
To maximize recovery chances, regularly back up your files and avoid using the affected drive until recovery is attempted. Common mistakes include overwriting files or neglecting to check backup solutions. Always consult professional advice if unsure about recovery methods to prevent permanent data loss.
Prevent Future Data Loss
To ensure that you can easily recover deleted files Windows in the future, it is crucial to implement preventive measures. Regular backups are the most effective way to safeguard your data. By creating copies of your important files, you can restore them quickly in case of accidental deletion or system failure.
Setting up automatic backups in Windows is a straightforward process. You can use the built-in File History feature, which allows you to back up your files to an external drive or network location. To enable File History, follow these steps:
1. Connect an external drive to your computer.
2. Go to Settings > Update & Security > Backup.
3. Click on "Add a drive" and select your external drive.
4. Turn on "Automatically back up my files."
In addition to backups, adopting best practices for file management can significantly reduce the risk of data loss. Here are some tips:
- Organize files into folders based on categories or projects.
- Regularly review and delete unnecessary files to keep your storage clean.
- Use descriptive file names to make it easier to locate important documents.
Moreover, using external storage solutions for important files is a wise choice. Consider utilizing cloud storage services like Google Drive or Dropbox, which not only provide additional space but also offer version history features that allow you to recover previous versions of files easily.
By implementing these strategies, you can significantly reduce the chances of losing important data and make the recovery process much smoother when needed.
Prevent Future Data Loss
To avoid the risk of losing important files in the future, consider implementing regular backup routines. Utilize cloud storage solutions or external hard drives to keep copies of your critical data. Additionally, be cautious when deleting files and regularly review your recycle bin to ensure no important documents are inadvertently removed.
Best Practices & Common Mistakes
Always double-check before deleting files and use version control for important documents. Regularly back up your data to avoid loss. A common mistake is neglecting to empty the recycle bin, which can lead to accidental permanent deletion. Pro advice: set up automatic backups to ensure your files are consistently protected.
Step-by-Step Tutorial
Step 1: Check Recycle Bin
The first step in recovering deleted files from Windows without software is to check the Recycle Bin. This is where deleted files are temporarily stored, allowing for easy recovery if they haven’t been permanently removed.
-
Open the Recycle Bin:
Double-click the Recycle Bin icon located on your desktop. This will open a window displaying all the files that have been deleted but not yet permanently removed from your computer.
-
Look for your deleted files:
Once the Recycle Bin window is open, browse through the list of deleted files. If you remember the name of the file, you can use the search bar at the top right corner of the window to quickly locate it.
-
Sort files for easier searching:
If you have many files in the Recycle Bin, consider sorting them by the date deleted. To do this, right-click in the Recycle Bin window, select ‘Sort by’, and then choose ‘Date Deleted’. This will help you find your files more efficiently.
-
Restore your files:
If you find the files you want to recover, select them, right-click, and choose ‘Restore’. This action will return the files to their original location on your computer.
Tips: Use the search bar to find specific files quickly. Sorting by date deleted can make it easier to locate recently removed items.
Warnings: Be aware that files may be permanently deleted if you have emptied the Recycle Bin. Once emptied, recovery becomes significantly more challenging.
Step 2: Use File History
- Open the Control Panel by searching for it in the Start menu.
- Navigate to
System and Security. - Click on
File Historyto open the File History settings. - Select
Restore personal filesfrom the left sidebar. - A window will appear displaying previous versions of your files. Browse through the available backups.
- Check the date of each backup to locate the correct version of the file you wish to recover.
- If you are looking for a specific file, use the search function within the File History window to expedite your search.
- Once you find the desired version of the file, select it and click on the
Restorebutton to recover it.
Tips: Always check the date of the backup to ensure you are restoring the correct version. The search function can save you time when looking for specific files.
Warnings: Remember that File History must be enabled prior to the deletion of files for this method to work effectively.
Step 3: Restore Previous Versions
To recover deleted files from Windows without using any software, you can utilize the ‘Restore Previous Versions’ feature. Follow these detailed instructions:
- Navigate to the folder where the deleted file was originally located.
- Right-click on the folder to open the context menu.
- Select Restore previous versions from the menu options.
- A list of available previous versions of the folder will be displayed. This list includes backups created by Windows and restore points.
- Review the versions and choose the one that is closest to the date when the file was deleted.
- If available, you can preview the files in the selected version to ensure it contains the deleted file.
- Once you have confirmed the correct version, select it and click on Restore to recover the folder and its contents.
Tips: Always choose the version that is closest to the deletion date to maximize your chances of recovery. Additionally, previewing files before restoring can help you avoid overwriting newer files.
Warnings: Be aware that not all folders will have previous versions available, especially if System Protection is not enabled or if no restore points have been created.
Frequently Asked Questions
How can I recover deleted files from the Recycle Bin?
To recover deleted files from the Recycle Bin, first, double-click the Recycle Bin icon on your desktop. This will open the folder containing all recently deleted files. Browse through the list to find the file you want to restore. Once located, right-click on the file and select “Restore.” The file will be returned to its original location on your computer. If you cannot find the file in the Recycle Bin, it may have been permanently deleted or bypassed the Recycle Bin entirely.
Is it possible to recover files after emptying the Recycle Bin?
Yes, it is possible to recover files after emptying the Recycle Bin, although the chances of success decrease significantly. When you empty the Recycle Bin, the files are not immediately erased; instead, the space they occupied is marked as available for new data. You can try using the “Previous Versions” feature in Windows or restore from a backup if available. However, if no backups exist, recovery may require specialized software or professional services, as the data may be overwritten by new files.
What is the Previous Versions feature in Windows?
The Previous Versions feature in Windows allows users to restore files and folders to earlier states. This feature relies on System Restore points or File History, which automatically saves copies of files at regular intervals. To access it, right-click on the file or folder you want to restore, select “Properties,” and then navigate to the “Previous Versions” tab. Here, you can view and restore earlier versions of the file or folder, provided that the feature was enabled prior to the deletion.
Can I use Command Prompt to recover deleted files?
Yes, you can use Command Prompt to attempt recovery of deleted files, although success is not guaranteed. One method involves using the attrib command to check for hidden files. Open Command Prompt as an administrator and navigate to the directory where the file was located. You can use the command attrib -h -r -s filename to unhide the file if it is still present but hidden. However, if the file has been permanently deleted, this method may not work, and other recovery options should be considered.
