
9 min read • 1,894 words
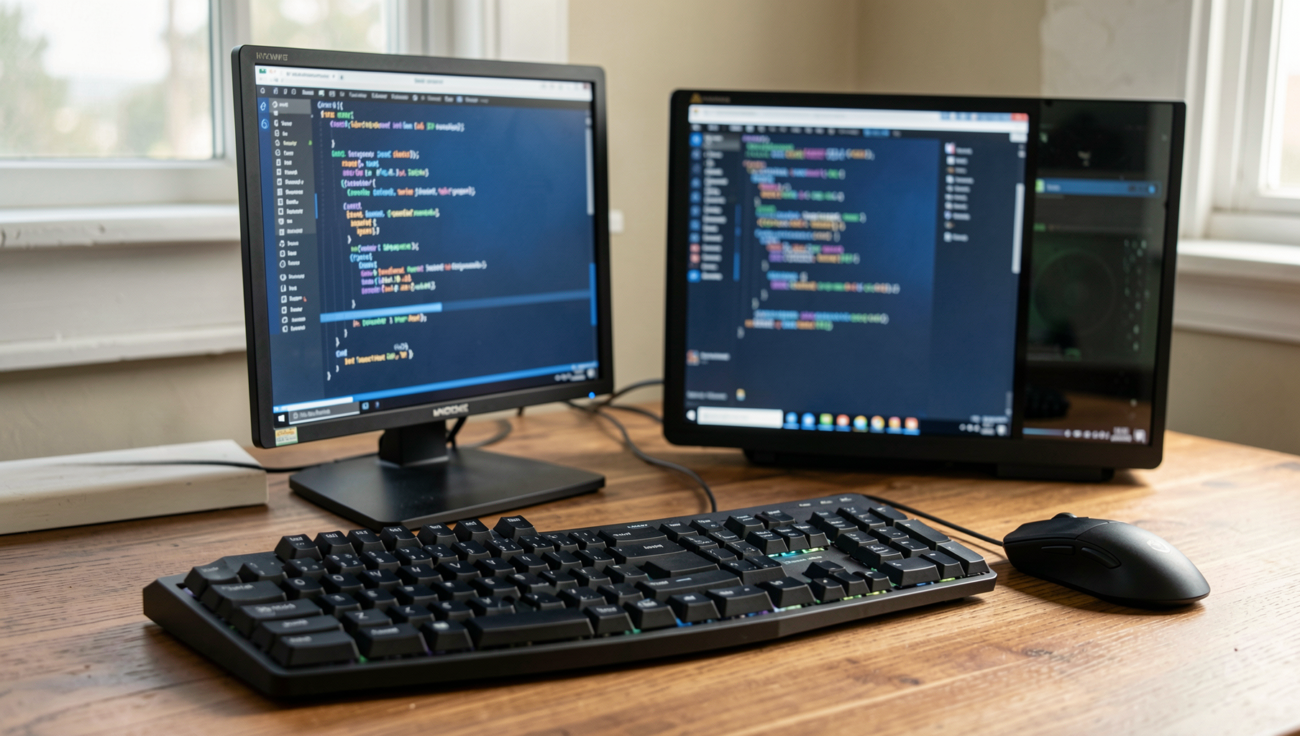
In today’s multi-device world, the ability to share a keyboard and mouse between two computers has become an essential skill for many users. Whether you are a tech enthusiast managing multiple systems or a professional seeking to streamline your workspace, understanding how to efficiently share input devices can significantly enhance productivity. This article will explore various methods to achieve this, ensuring you can switch seamlessly between devices without the clutter of multiple keyboards and mice.
Sharing a keyboard and mouse not only saves space but also reduces the hassle of managing multiple peripherals. With options ranging from KVM switches to software solutions like Synergy and Barrier, users can find the perfect method tailored to their needs. Additionally, USB switch devices and Bluetooth peripherals offer flexible alternatives for toggling between computers. By learning these techniques, you can create a more organized and efficient workspace that caters to your workflow.
As technology continues to evolve, many operating systems now come equipped with built-in features that facilitate the sharing of input devices across multiple machines. This article will guide you through the various methods available, including hardware and software solutions, to help you make an informed decision. By the end, you will have a comprehensive understanding of how to share a keyboard and mouse effectively, allowing you to enhance your productivity and simplify your computing experience.
Step-by-Step Tutorial
Step 1: Choose a KVM Switch
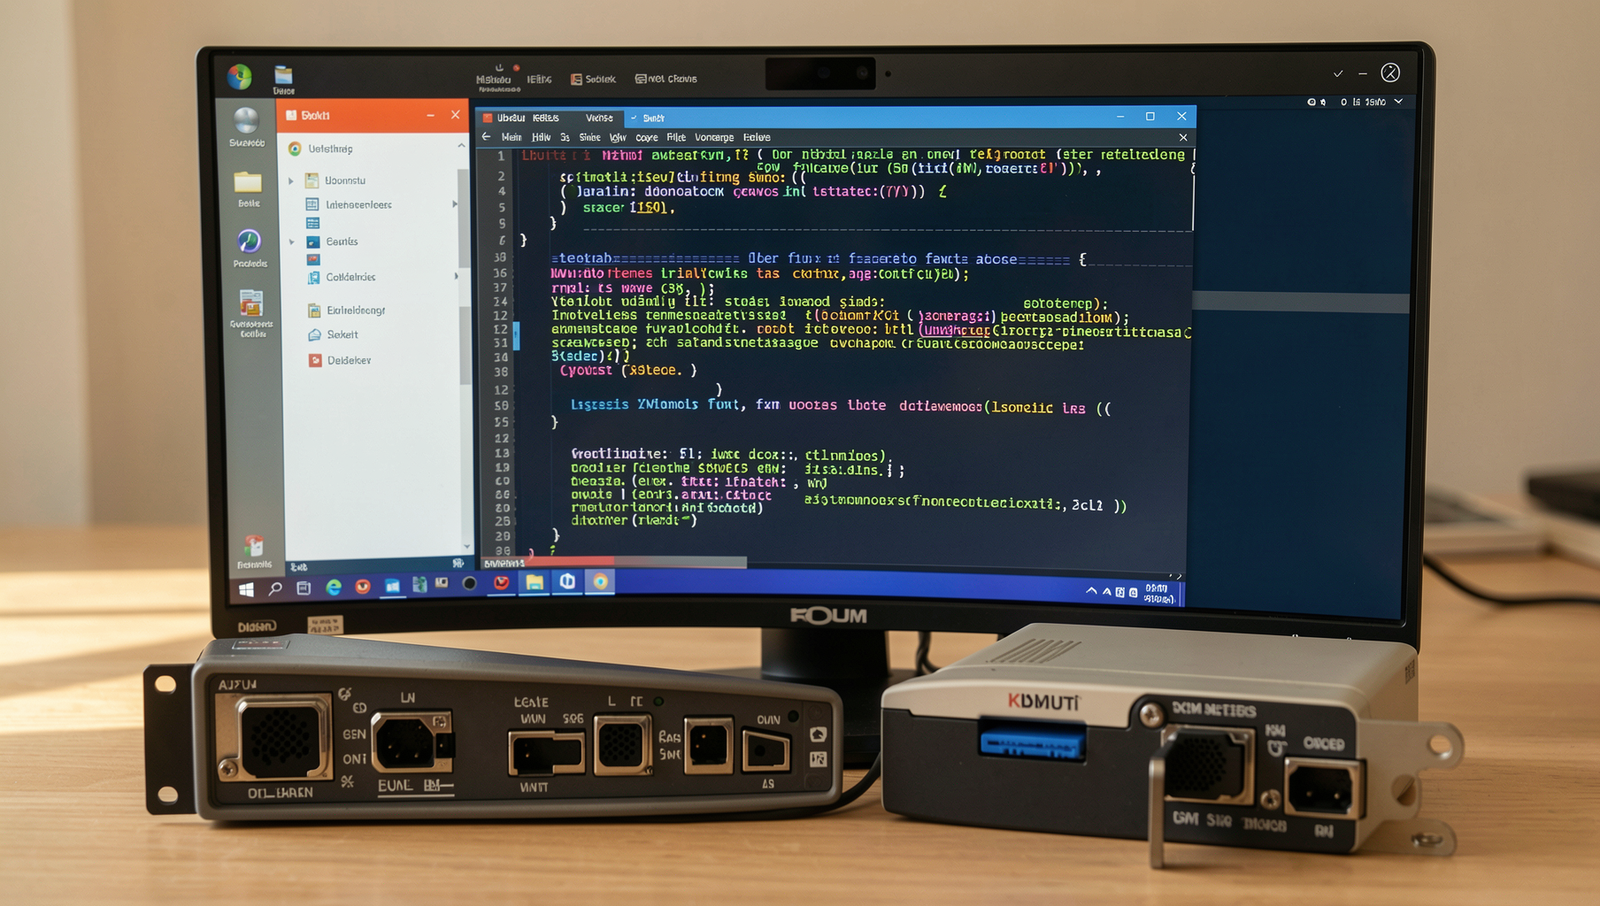
- Determine Your Needs: Assess how many computers you want to connect to the KVM switch. Common options include 2, 4, or more ports. Consider future expansion if you plan to add more computers later.
- Research Options: Look for KVM switches that fit your requirements. Check online retailers and manufacturer websites to compare features, prices, and specifications.
- Check Compatibility: Ensure the KVM switch supports the operating systems of your computers. Verify that it has the necessary ports (USB, HDMI, DisplayPort) for your keyboard, mouse, and monitors.
- Read User Reviews: Look at customer feedback to gauge the reliability and performance of the KVM switch. Pay attention to comments about ease of use and any issues encountered.
- Verify Monitor Resolution Support: Ensure that the KVM switch can handle the resolution of your monitors. This is crucial for maintaining display quality.
By following these steps, you will have selected a suitable KVM switch for your setup, ensuring a smooth transition between computers.
Troubleshooting & Verification
To ensure the KVM switch is functioning correctly, verify that all cables are securely connected and that the switch is powered on. Test each computer individually to confirm they recognize the switch. Check for compatibility issues with operating systems and ensure that any necessary drivers are installed. Restart the computers if problems persist.
Step 2: Connect the KVM Switch to Computers
- Power off both computers to prevent any electrical issues or damage.
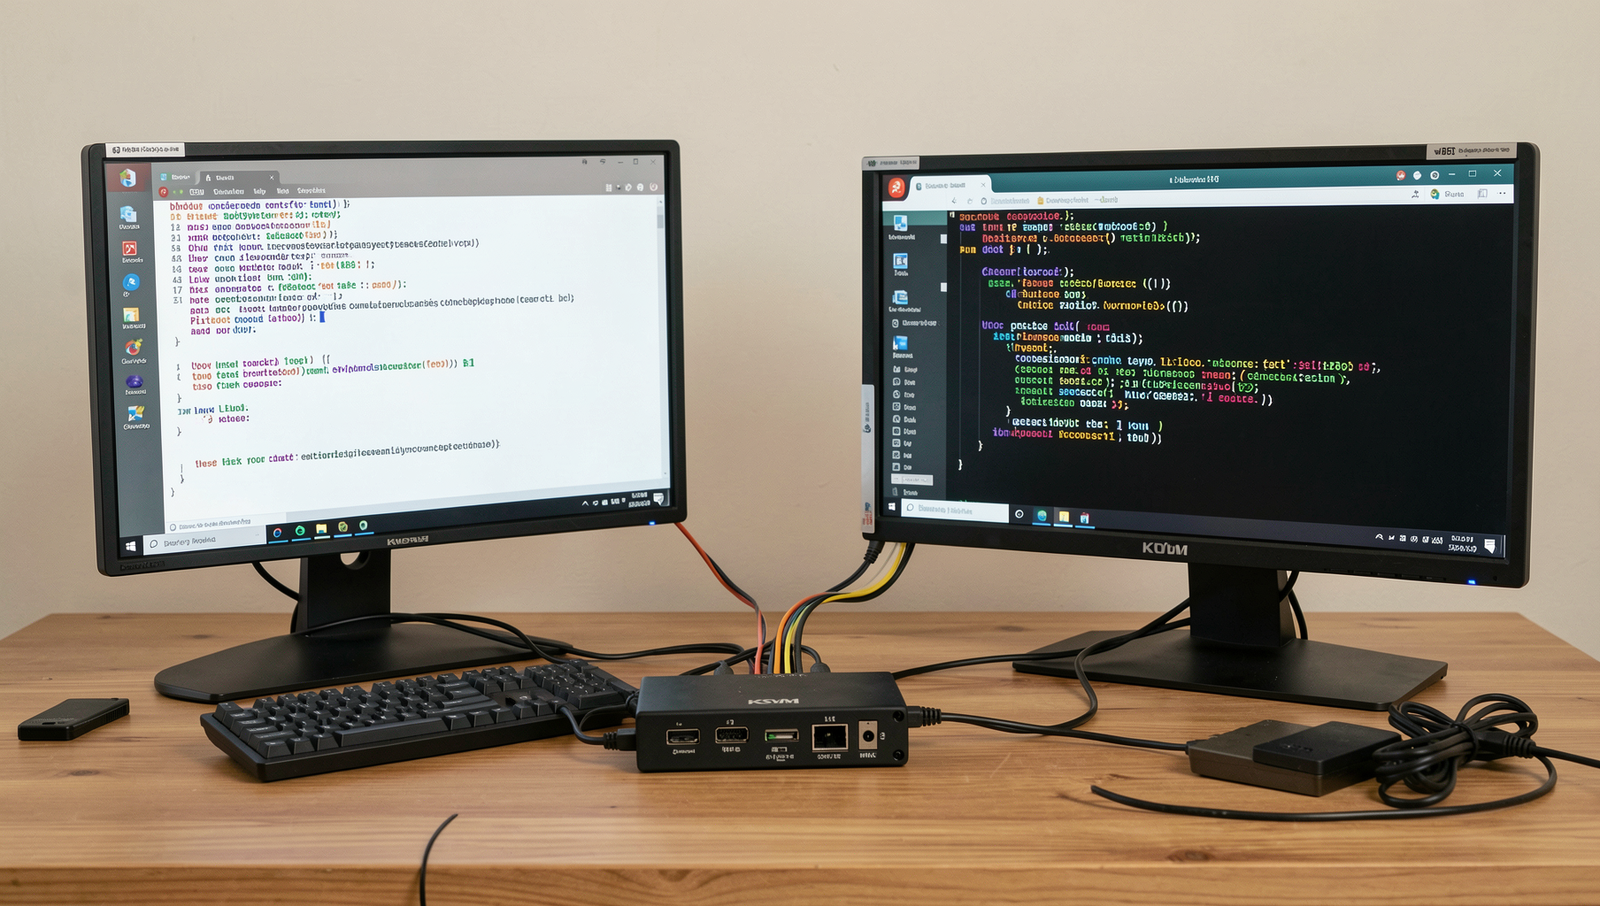
- Locate the USB ports on the KVM switch. Connect your keyboard and mouse to these designated USB ports. Ensure that they are securely plugged in.
- Identify the video output ports on each computer. Depending on your setup, you may need HDMI, DisplayPort, or VGA cables. Use the appropriate cables to connect each computer to the KVM switch. For example, if using HDMI, connect one end of the HDMI cable to the computer and the other end to the KVM switch.
- Repeat the previous step for the second computer, ensuring that each computer is connected to its respective input on the KVM switch.
- Once all connections are made, double-check that the cables are securely connected and organized. Using color-coded cables can help with easier identification.
- Position the KVM switch in a location that is easily accessible for switching between computers.
Tips: Use color-coded cables for easier identification. Keep the KVM switch in a location that is easily accessible for switching.
Warnings: Do not connect or disconnect cables while the computers are powered on to avoid potential damage.
Troubleshooting & Verification
Ensure that all cables are securely connected to both the KVM switch and the computers. Check that the KVM switch is powered on and functioning. Verify that the correct input is selected on the KVM switch. If issues persist, try using different USB ports or cables to rule out hardware malfunctions.
Step 3: Power On and Configure the KVM Switch
- Begin by ensuring that all connections are secure. Verify that the keyboard, mouse, and monitors are properly connected to the KVM switch.
- Power on the KVM switch. This is typically done by plugging it into a power source and pressing the power button, if available.
- Next, power on both computers. Wait for the operating systems to fully load.
- Refer to the manufacturer’s instructions for specific configuration settings. This may involve using a specific key combination to switch between computers or accessing a configuration menu.
- Adjust any settings as needed, such as mouse sensitivity. This can usually be done through the settings menu of your operating system.
- Practice switching between computers using the designated method, whether it’s a button on the KVM switch or a keyboard shortcut.
Ensure you refer to the user manual for specific configuration instructions. Avoid pressing multiple buttons simultaneously, as this may cause errors in switching.
Troubleshooting & Verification
Ensure the KVM switch is powered on and all cables are securely connected. Check that the correct input source is selected. If the keyboard and mouse are unresponsive, try connecting them directly to each computer to verify functionality. Restart the KVM switch and the computers to refresh the connection if issues persist.
Step 4: Install Any Necessary Drivers
- Identify the KVM switch model you are using. This information is usually found on the device itself or in the user manual.
- Visit the manufacturer’s official website. Look for a “Support” or “Downloads” section.
- Search for your KVM switch model to find the appropriate drivers. Ensure you are selecting the correct operating system version.
- Download the drivers to your computer. Make sure to save them in a location that is easy to access.
- Locate the downloaded driver files and double-click on the installer to begin the installation process.
- Follow the on-screen instructions to complete the installation. Restart your computer if prompted.
- After installation, test the KVM switch to ensure it is functioning correctly with both computers.
Tips: Keep your drivers updated for the best performance. Check forums for troubleshooting tips if you encounter issues.
Warnings: Ensure you download drivers from the official website to avoid malware. Check for compatibility with your operating system before installation.
Troubleshooting & Verification
If you encounter issues after installing drivers, ensure they are the latest versions from the manufacturer’s website. Restart both computers to apply changes. Check device manager for any warning signs. If problems persist, uninstall and reinstall the drivers. Test the keyboard and mouse on each computer to confirm proper functionality.
Step 5: Test and Troubleshoot
- Switch Between Computers: Begin by using the KVM switch to toggle between the two computers. Ensure that you can seamlessly transition from one device to the other without any lag.
- Check Keyboard and Mouse Functionality: After switching, test the keyboard and mouse on each computer. Type a few sentences and move the mouse to confirm that both devices respond correctly.
- Verify Display Output: Ensure that the monitor displays the correct output for each computer. If the screen remains blank or shows an error, check the video connections.
- Consult the User Manual: If you encounter issues, refer to the user manual for troubleshooting tips specific to your KVM switch model.
- Use a Surge Protector: To prevent damage from power surges, connect your KVM switch and computers to a surge protector.
Warnings: If the KVM switch does not respond, check all connections and ensure that the power supply is functioning. Avoid using damaged cables or connectors, as they may cause connectivity issues.
Troubleshooting & Verification
If you encounter issues, ensure all connections are secure and the software is correctly installed. Test the keyboard and mouse on each computer individually to confirm functionality. Restart both computers and the sharing software. Check for updates or compatibility issues with your operating systems. Consult the user manual for specific troubleshooting steps related to your device.
Conclusion
Sharing a keyboard and mouse between two computers can significantly enhance your productivity and streamline your workspace. By utilizing software solutions like Synergy or hardware options such as a KVM switch, you can easily switch control between devices without the hassle of multiple peripherals. The key steps involve selecting the right method, setting up the necessary connections, and configuring the software or hardware to ensure seamless operation.
Not only does this setup save space and reduce clutter, but it also allows for efficient multitasking between different systems. As you move forward, consider exploring additional tools and configurations that can further optimize your experience. Embracing the ability to share a keyboard and mouse will undoubtedly lead to a more organized and efficient computing environment.
Frequently Asked Questions
How can I share a keyboard and mouse between two computers?
To share a keyboard and mouse between two computers, you can use a hardware solution like a KVM switch, which allows you to connect both computers to a single set of peripherals. Alternatively, you can opt for software solutions that enable you to control multiple computers with one keyboard and mouse over a network. Simply install the required software on both computers, configure the settings, and you can seamlessly switch control between them. Make sure both computers are on the same network for software solutions to work effectively.
What is a KVM switch?
A KVM (Keyboard, Video, Mouse) switch is a hardware device that allows you to control multiple computers using a single keyboard, monitor, and mouse setup. It typically features multiple input ports for connecting different computers and a single output port for the peripherals. Users can switch between computers using a button on the KVM switch or a keyboard shortcut. KVM switches are particularly useful in environments where space is limited or for users who need to manage multiple systems without cluttering their workspace with extra peripherals.
Are there software options for sharing a keyboard and mouse?
Yes, there are several software options available for sharing a keyboard and mouse between computers. Popular choices include Synergy, Barrier, and Mouse Without Borders. These applications allow you to control multiple computers using a single keyboard and mouse over a network connection. After installing the software on both machines, you can configure the layout and settings to suit your needs. This solution is ideal for users who prefer a wireless setup and want to avoid additional hardware. Ensure both computers are connected to the same network for optimal performance.
Can I share a keyboard and mouse wirelessly?
Yes, you can share a keyboard and mouse wirelessly using software solutions designed for this purpose. Applications like Synergy and Barrier allow you to control multiple computers over a Wi-Fi network, eliminating the need for physical connections. Simply install the software on each computer, configure the settings, and you can move your mouse cursor seamlessly between screens. However, ensure that both computers maintain a stable wireless connection for smooth operation. For a more traditional approach, some KVM switches also offer wireless options, allowing you to connect your peripherals without cables.
