

9 min read • 1,880 words
In today’s digital landscape, managing internet access for applications on your Windows device is crucial for maintaining security and privacy. The ability to block internet access for specific Windows apps can prevent unauthorized data transmission, safeguarding sensitive information from potential threats. This article will guide you through the process of effectively blocking internet access for any Windows app, ensuring that you have full control over your network environment.
Understanding how to block internet access for Windows apps is not just a technical skill; it’s a necessary measure for anyone concerned about cybersecurity. By utilizing Windows Firewall settings or third-party firewall software, you can create outbound rules that restrict internet access for specific applications. This proactive approach can significantly reduce the risk of malware and other security breaches, allowing you to use your device with peace of mind.
Throughout this article, you will learn step-by-step methods to block internet access for any Windows app, including how to navigate the ‘Advanced Settings’ in Windows Firewall. With detailed instructions and practical tips, you will gain the knowledge needed to manage app-specific internet access effectively. Whether you’re a casual user or a tech-savvy individual, mastering this skill will empower you to protect your data and enhance your overall computing experience.
Step-by-Step Tutorial
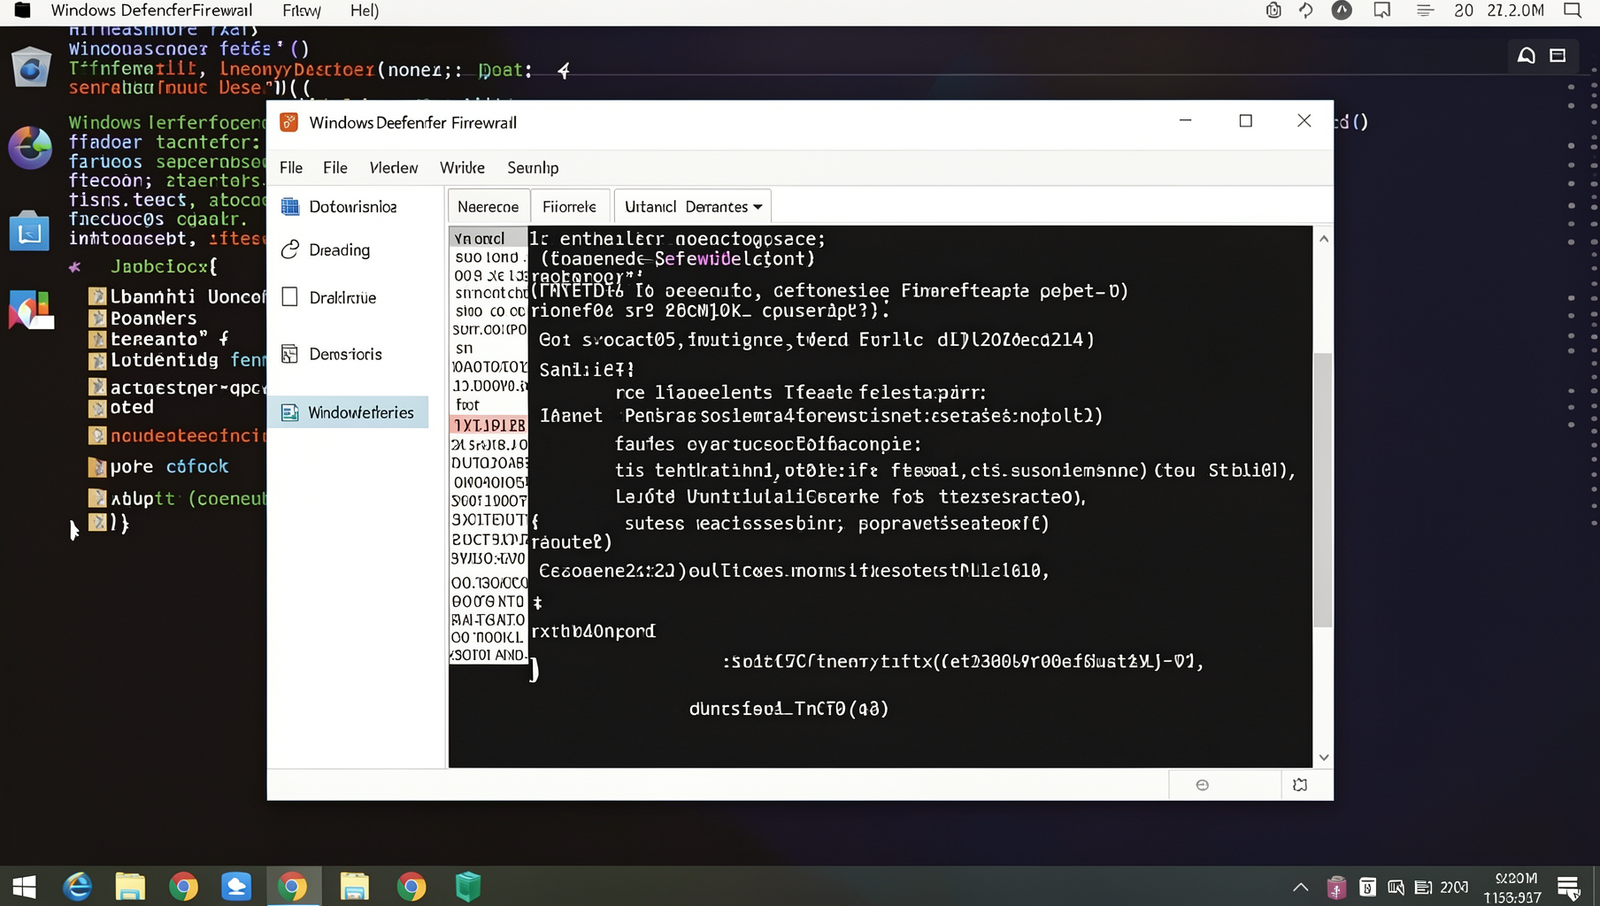
Step 1: Open Windows Firewall
- Press the
Windowskey on your keyboard. This will open the Start menu. - Type
Windows Defender Firewallinto the search bar. As you type, the system will begin to search for the application. - Once you see
Windows Defender Firewallin the search results, pressEnterto open it. This action will launch the Windows Defender Firewall window. - Alternatively, you can access the firewall through the Control Panel. To do this, click on the Start menu, type
Control Panel, and pressEnter. - In the Control Panel, navigate to
System and Securityand then click onWindows Defender Firewall.
Ensure that you have administrative privileges to make changes to the firewall settings. This is important for modifying any rules or settings within the firewall.
Troubleshooting & Verification
If you encounter issues while trying to open Windows Firewall, ensure that you have administrative privileges on your computer. Check if the Windows Firewall service is running by navigating to the Services app. Additionally, verify that your Windows operating system is up to date, as outdated software can cause functionality problems.
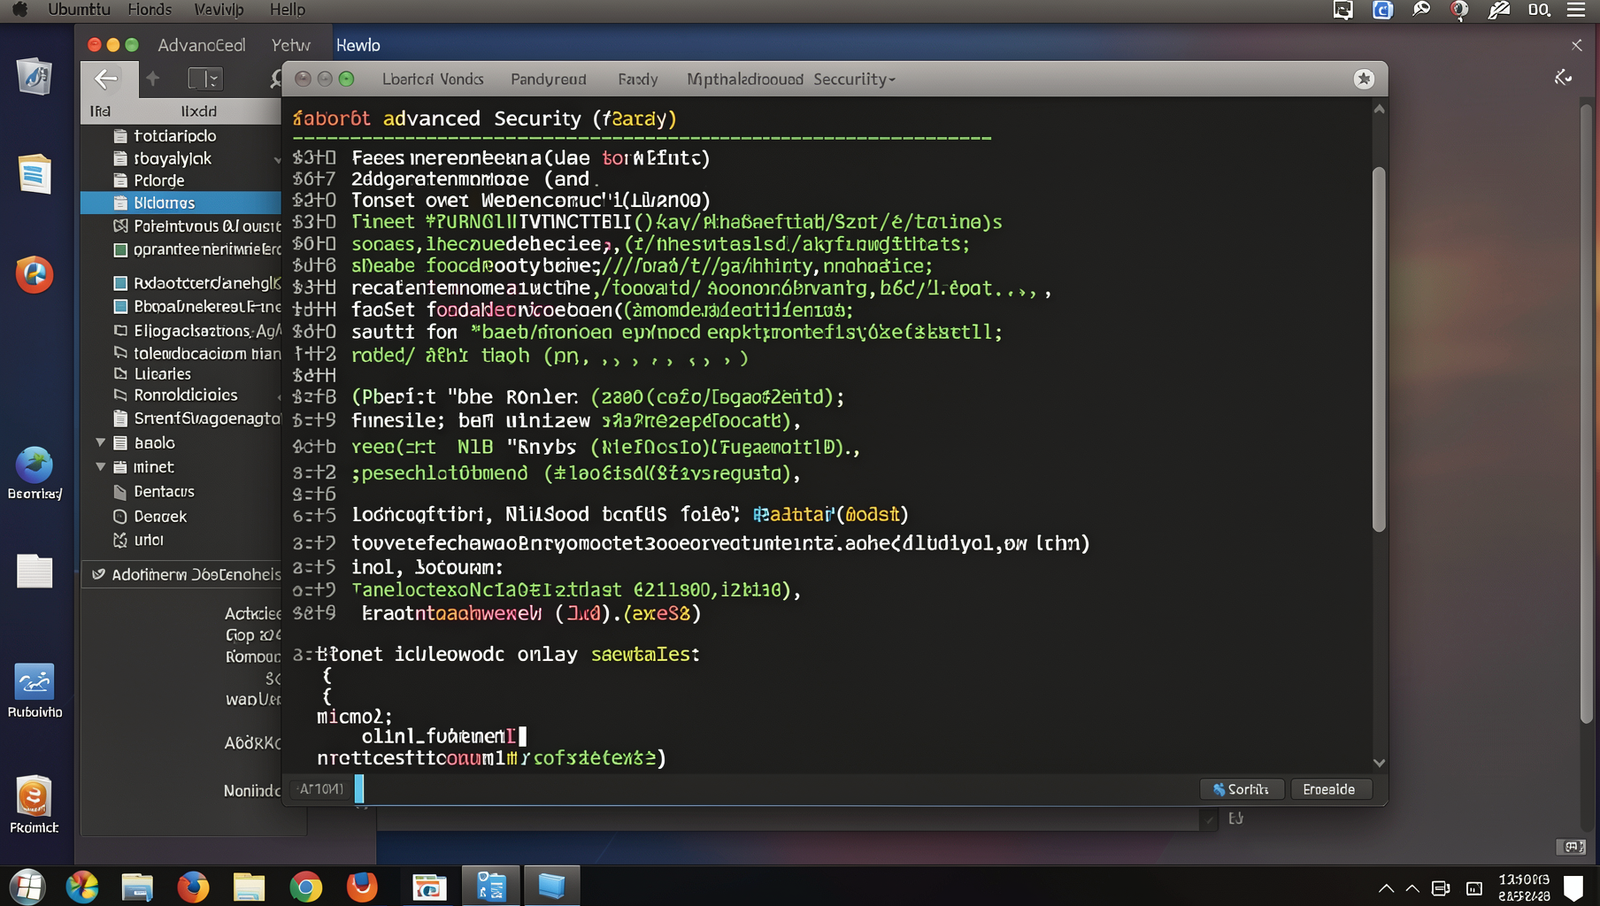
Step 2: Access Advanced Settings
- Open the Start menu by clicking on the Windows icon in the bottom-left corner of your screen.
- Type
Windows Defender Firewallin the search bar and pressEnter. - In the Windows Defender Firewall window, look at the left sidebar.
- Click on Advanced settings. This action will open the Windows Defender Firewall with Advanced Security window.
- In the Advanced Security window, you will see options for Inbound Rules and Outbound Rules on the left side.
Take a moment to familiarize yourself with the interface to avoid confusion later. Remember, you can always revert changes if needed. However, be cautious when modifying firewall settings, as improper changes can affect your system’s security.
Troubleshooting & Verification
If you encounter issues accessing advanced settings, ensure you have administrative privileges. Check if your Windows Firewall is enabled and functioning correctly. Restart your computer to apply any changes. Additionally, verify that your Windows version supports the features you are trying to access, as older versions may have limitations.
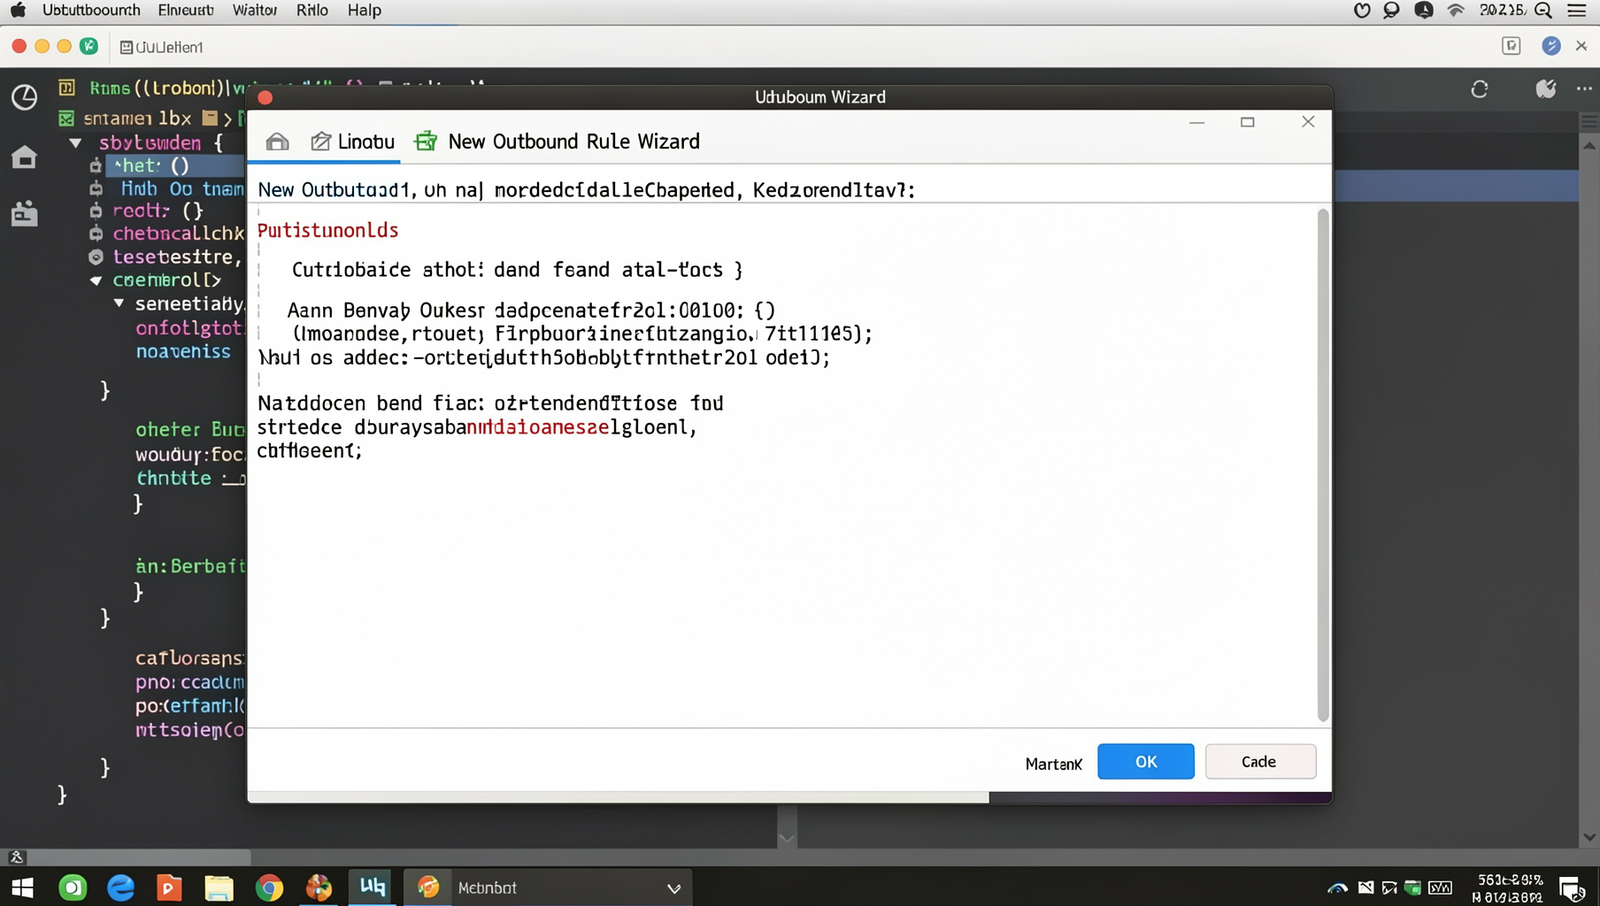
Step 3: Create a New Outbound Rule
- Open the Windows Defender Firewall with Advanced Security by searching for it in the Start menu.
- In the Advanced Security window, locate and click on ‘Outbound Rules’ in the left pane.
- In the right pane, click on ‘New Rule…’ to launch the New Outbound Rule Wizard.
- In the wizard, select ‘Program’ as the rule type to block a specific application and click ‘Next’.
- Click on ‘This program path:’ and enter the full path of the application you wish to block. For example,
C:\Program Files\YourApp\YourApp.exe.
- Click ‘Next’ to proceed to the action settings.
- Select ‘Block the connection’ and click ‘Next’.
- On the Profile page, choose when the rule applies (Domain, Private, Public) and click ‘Next’.
- Finally, give your rule a name and an optional description, then click ‘Finish’ to create the rule.
Troubleshooting & Verification
If the outbound rule does not seem to work, verify that the rule is enabled in the Windows Firewall settings. Check for any conflicting rules that may allow internet access. Additionally, ensure that the application is correctly identified in the rule. Restart the application and test the internet connection again.
Step 4: Specify the Program to Block
- In the New Outbound Rule Wizard, select the option labeled ‘This program path:’.
- Click on the ‘Browse’ button to open a file explorer window.
- Navigate to the installation directory of the application you want to block. This is typically found in
C:\Program FilesorC:\Program Files (x86). - Locate the executable file (.exe) of the application. If you are unsure which file to select, right-click the application shortcut on your desktop or in the Start menu, and choose ‘Open file location’ to find the correct path.
- Once you find the executable file, select it and click ‘Open’.
- After the program path is specified, click ‘Next’ to proceed to the next step in the wizard.
Ensure you select the correct executable file to avoid blocking the wrong application. This will help maintain the functionality of other programs on your system.
Troubleshooting & Verification
If the program is not blocking as expected, ensure that you have selected the correct executable file. Check for any conflicting firewall rules or security software that may override your settings. Restart your computer after making changes to ensure they take effect. Verify the app’s internet access using a browser or network tool.
Step 5: Choose the Action to Block
- After configuring the program and protocol in the previous steps, you will reach the “Action” page of the wizard.
- Here, you will see options for how to handle the connection. Select the option labeled ‘Block the connection’.
- Once you have made your selection, click on the ‘Next’ button to proceed to the next step.
- Review the summary of the rule you are creating to ensure it reflects your intentions accurately.
- Consider creating a backup of your current settings before finalizing the rule, as this will allow you to revert back if needed.
- Remember that blocking the connection may affect the application’s functionality, so proceed with caution.
Troubleshooting & Verification
If you encounter issues while choosing the action to block, ensure that you have administrative privileges. Check if the application is running and verify that your firewall settings are correctly configured. Restart your computer to apply changes, and test the app to confirm that internet access has been successfully blocked.
Step 6: Finalize the Rule Setup
- Specify the Rule Application: Choose when the rule applies by selecting the appropriate network types. You can select from Domain, Private, or Public. This setting determines under which network conditions the rule will be enforced.
- Name the Rule: Enter a descriptive name for your rule in the designated field. This name should be recognizable and relevant to the application you are blocking, making it easier to identify in the future.
- Add a Description (Optional): For added clarity, you may include a brief description of the rule. This can help you remember the purpose of the rule later on.
- Finish the Setup: Click the ‘Finish’ button to create the rule. This action will finalize your settings and add the new outbound rule to the Outbound Rules section.
After creating the rule, it is advisable to test the application to ensure that its internet access is successfully blocked. Remember to keep the rule name recognizable for easy future reference.
Troubleshooting & Verification
If the rule isn’t working as expected, ensure that the correct application path is specified. Check for any conflicting rules that may allow access. Additionally, verify that the rule is enabled and applied to the correct network profile (Domain, Private, or Public). Restart your computer to apply changes effectively.
Conclusion
In summary, blocking internet access for any Windows app is a straightforward process that can significantly enhance your privacy and security. By utilizing built-in Windows Firewall settings or third-party applications, you can easily restrict unwanted network access. This not only prevents apps from sending or receiving data without your consent but also helps in managing bandwidth usage and protecting sensitive information.
As you move forward, consider regularly reviewing your app permissions and firewall rules to ensure optimal protection. Whether you’re a casual user or a professional, taking the time to block internet access for Windows apps can lead to a more secure computing experience. Start implementing these steps today to safeguard your digital environment.
Frequently Asked Questions
How can I block internet access for a specific app in Windows?
To block internet access for a specific app in Windows, you can use the built-in Windows Firewall. Open the Control Panel and navigate to “System and Security” and then “Windows Defender Firewall.” Click on “Advanced settings” to access the Firewall settings. In the left pane, select “Outbound Rules,” then click “New Rule” on the right. Choose “Program” and browse to the executable file of the app you want to block. Select “Block the connection,” and follow the prompts to complete the rule setup. This will prevent the specified app from accessing the internet.
Is there a way to block internet access for all apps at once?
Yes, you can block internet access for all apps at once by creating a rule in the Windows Firewall. Open the Windows Defender Firewall with Advanced Security, and select “Outbound Rules.” Click on “New Rule,” then choose “Custom.” In the next steps, you can select “This program path” and leave it blank to apply the rule to all programs. Choose “Block the connection” and apply it to all profiles (Domain, Private, Public). However, be cautious, as this will prevent all applications from accessing the internet, which may disrupt essential services.
Can third-party software help in blocking internet access?
Yes, third-party software can be very effective in blocking internet access for specific applications. Programs like NetLimiter, GlassWire, or TinyWall provide user-friendly interfaces that allow you to manage network access for individual applications easily. These tools often come with additional features, such as monitoring bandwidth usage and setting rules for internet access. They can offer more granular control compared to the built-in Windows Firewall, making them a popular choice for users who need more flexibility in managing their internet connections.
Will blocking internet access affect app functionality?
Blocking internet access for an application can significantly affect its functionality, especially if the app relies on online services. For example, productivity tools, cloud storage apps, and web browsers will not function properly without internet access. Some applications may display error messages or fail to load content. However, if the app has offline capabilities, it may still work as intended without internet access. It’s essential to consider the app’s purpose before blocking its internet access to avoid disrupting your workflow or losing essential features.
